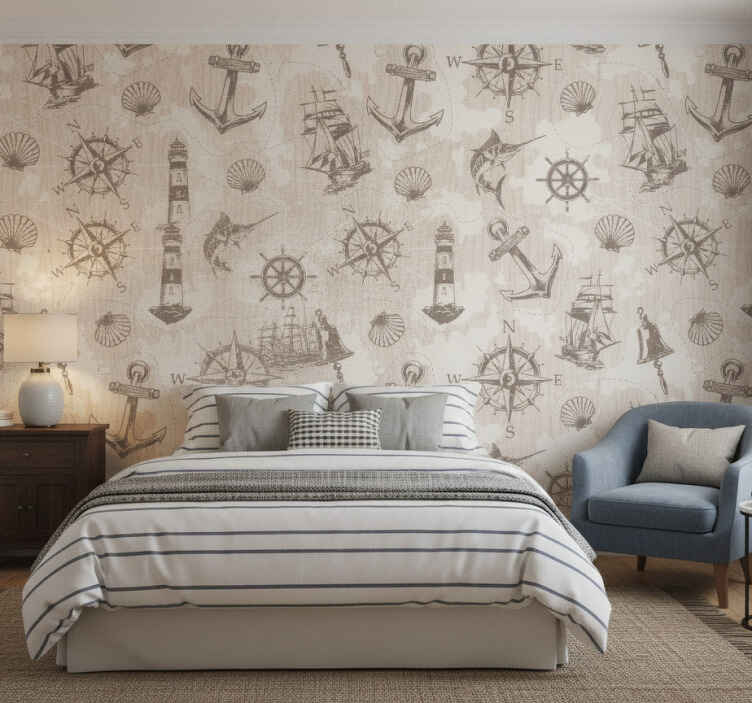
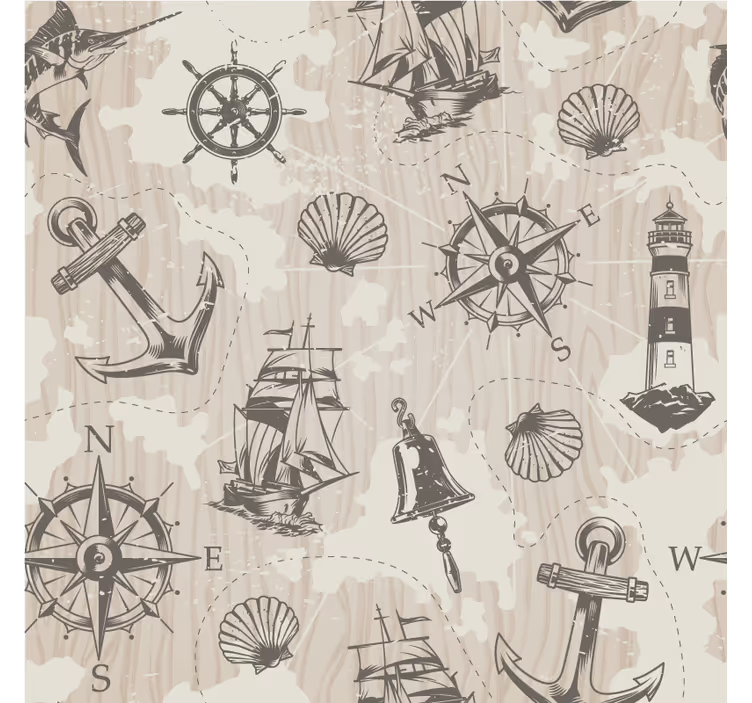
Beige wall mural with anchors on wood planks pattern
Reference: F12463Transform your space with our stunning Beige wall mural with anchors on wood planks pattern. This captivating design features a harmonious blend of soft beige tones and rustic wood textures, accented by charming anchor motifs. The warm, inviting palette creates a cozy atmosphere, making it perfect for any room in your home. With its non-woven material and matt finish, this mural not only looks great but also feels luxurious!
Why this product should be used for decoration
The Beige wall mural with anchors on wood planks pattern beige wall mural is an ideal choice for those looking to add a touch of nautical charm to their decor. Imagine stepping into a space that exudes warmth and relaxation, inviting you to unwind. This mural effortlessly enhances the aesthetic of any room, making it a perfect backdrop for your cherished moments. Let your walls tell a story of adventure and tranquility!
How to apply this product
Applying the Beige wall mural with anchors on wood planks pattern beige wall mural is simple and straightforward. Start by gathering your tools, including glue, a roller, a brush, and a cutter. Carefully apply the mural to your wall for a stunning transformation that will have your friends and family in awe!

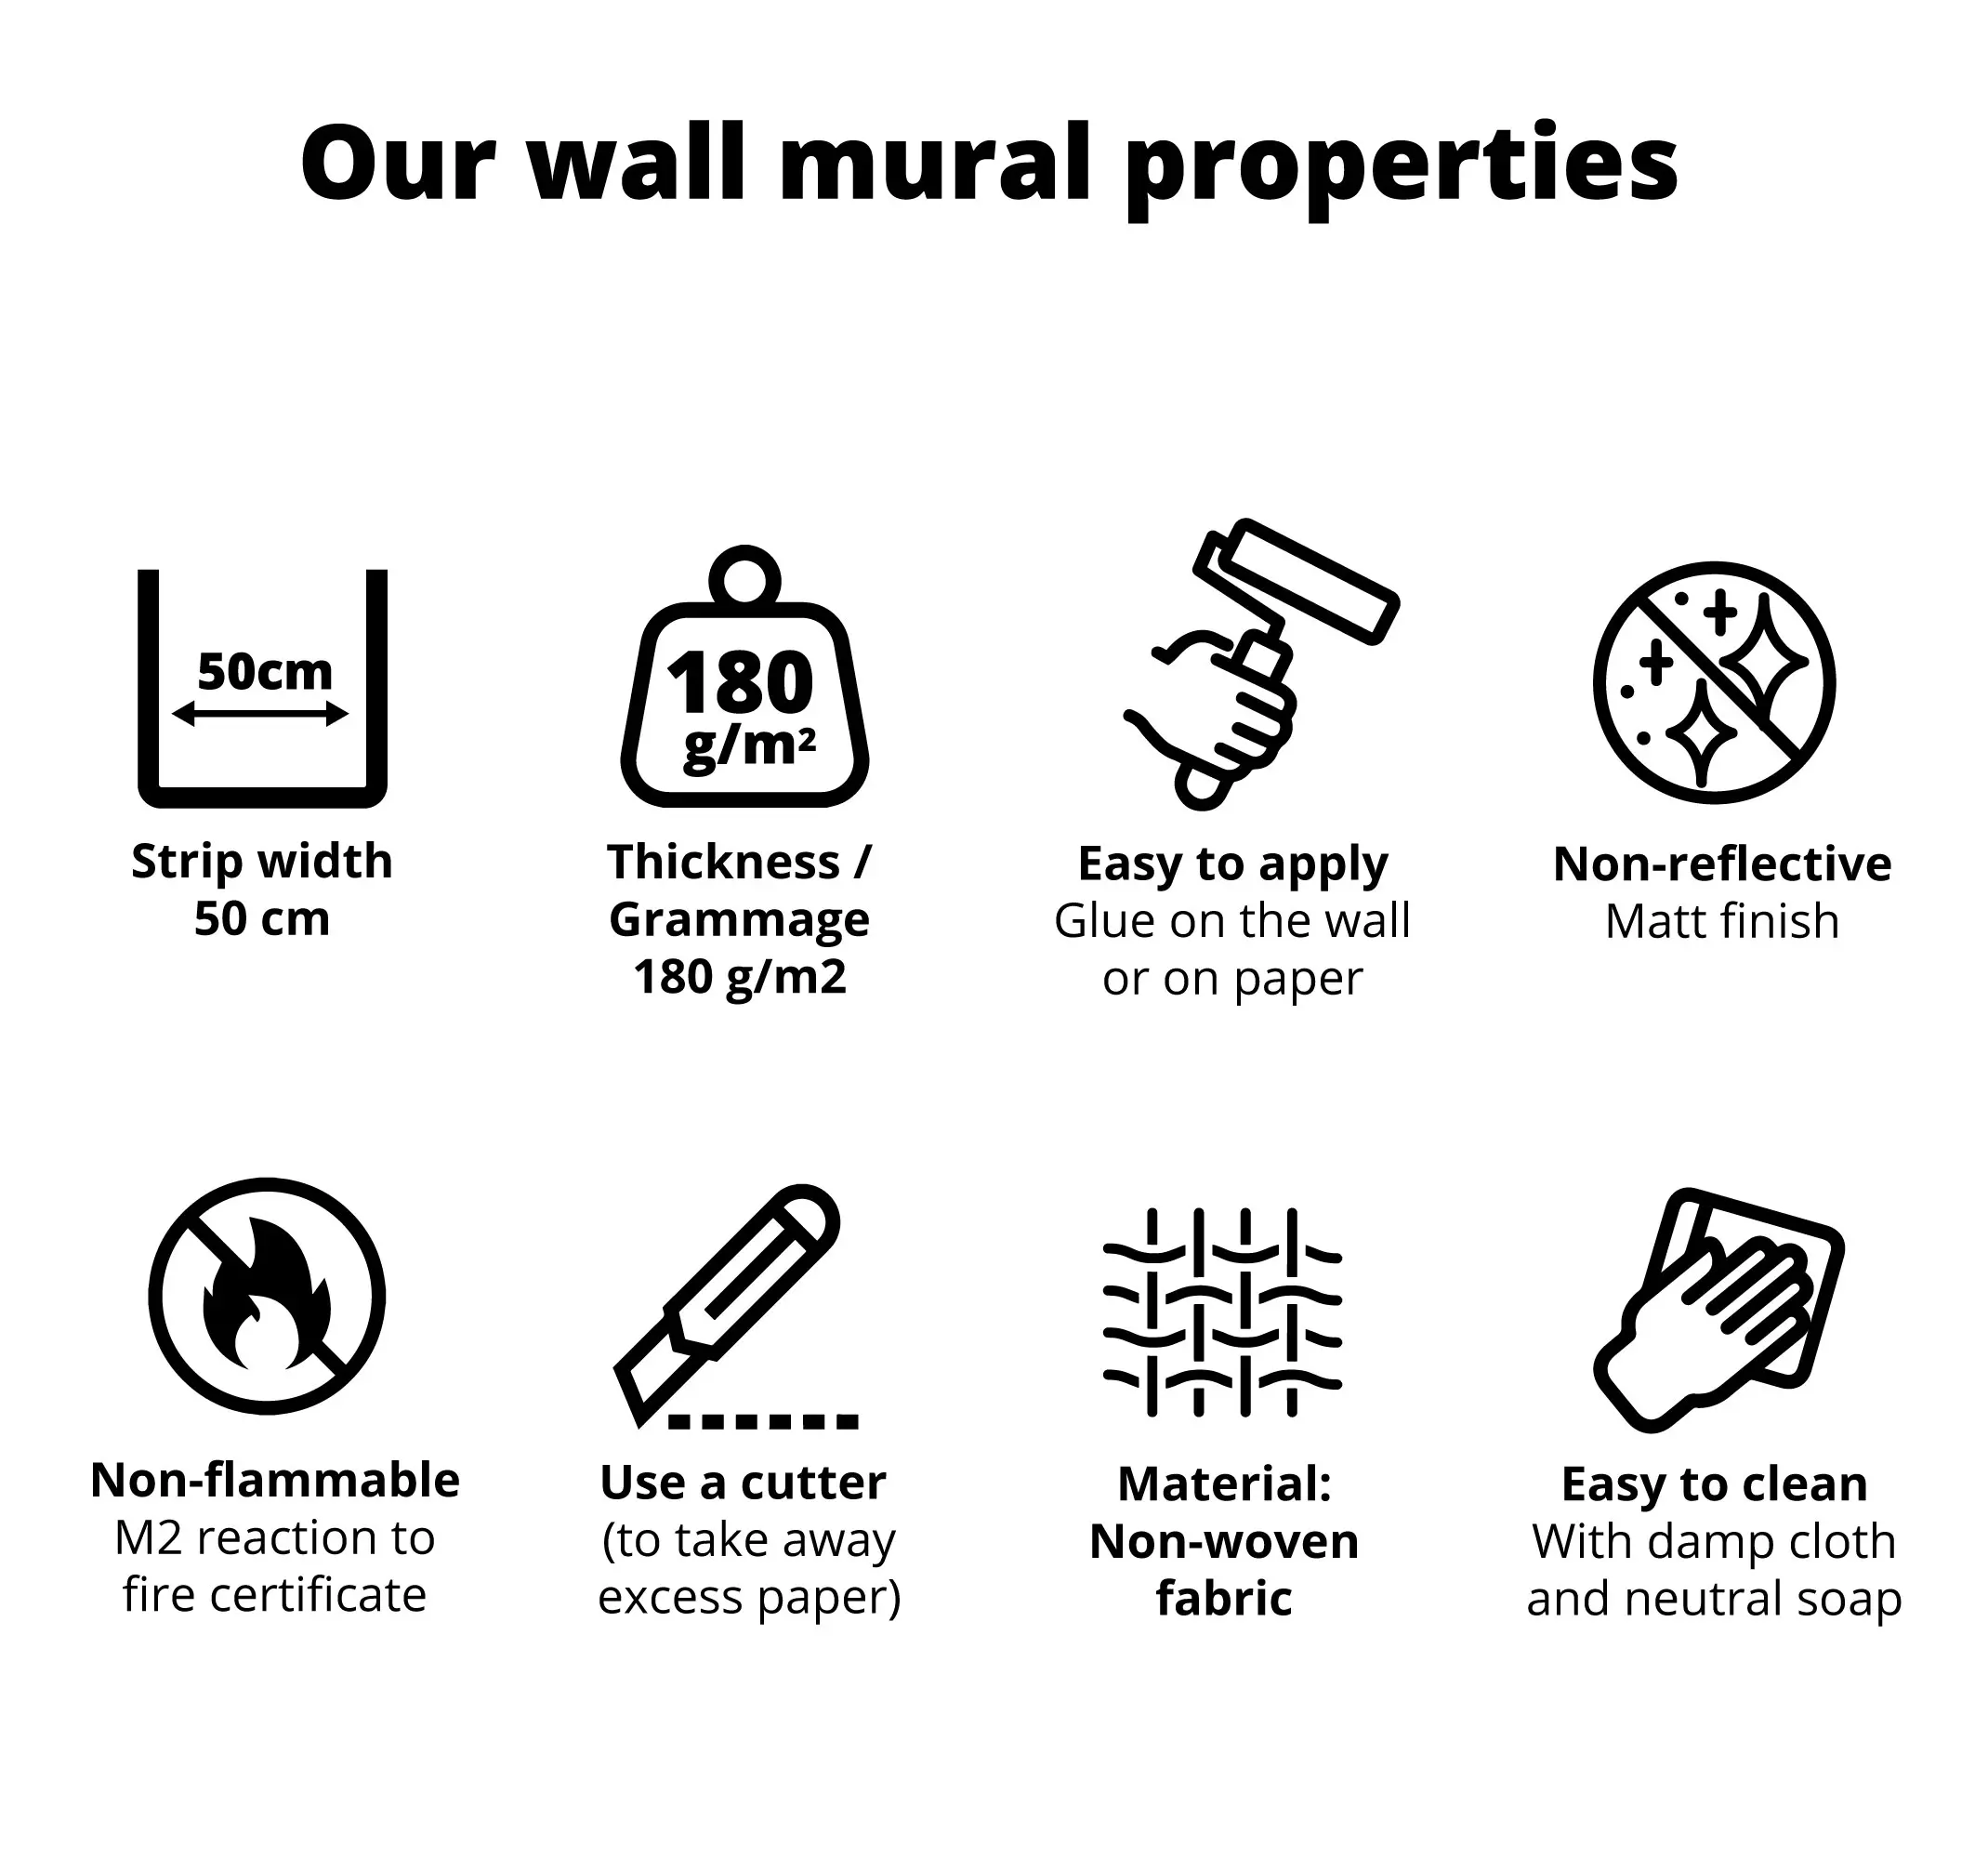
Strip width: 50 cm
Thickness / weight: 180 g/m2
Custom-made: select the measurements you want and we will adapt the design
100% customizable product: if you want to modify any element of the design, do not hesitate to contact us
Matte finish (satin): non-glossy finish with bright and elegant colors
Easily washable product: Can be gently cleaned with a damp cloth or a non-abrasive sponge and water
Easy installation (bubble-free): Stick directly onto the paper or wall
Suitable surface: Any flat surface
Installation tool kit available
Easy to clean: with a damp cloth and mild soap (do not use harsh products)
Fireproof certificate: M2
Easy to remove from the wall: peels off dry
100% recyclable product: made with eco-friendly inks
100% secure payments
Also, it will be wrapped in bubble wrap inside a sturdy cardboard package that protects the product during shipping.
Recommended materials:
1. Glue
2. Bucket
3. Ruler/tape measure
4. Spirit level
5. Glue brush
6. Brush/roller
7. Cutter
8. Sponge or cloth.
Before wallpapering (preparation):
Surface: The wall must be dry, clean, free of grease and free of any residue from previous wallpaper. Fill and smooth any large imperfections.
Glue: Mix one packet of glue (150g) with 4-5 litres of water. Leave to stand for 5-10 minutes and stir. This is sufficient for up to 25 m².
Temperature: Do not apply the wallpaper at temperatures below 10∘C or in low humidity. The optimum temperature is 18−21∘C.
Application:
Marking: Use a spirit level and ruler to draw vertical guide lines every 50 cm on the wall. Start from a window frame if applicable.
Pasting: Apply a thin layer of paste to:
Option 1: Directly onto the wall (slightly wider than the roll).
Option 2: Evenly on the back of the paper, from the centre outwards. Fold the ends so that the glued parts touch and leave to rest for a few minutes to allow it to soak slightly.
Hanging: Place the top of the roll on the wall and align it with the guide line. Slide gently if necessary.
Smoothing: Use the brush from the centre outwards (top to bottom) to remove air bubbles. Avoid getting glue on the brush if it has been applied to the wall.
Continuing: Repeat the steps for the following rolls, ensuring that the edges fit together and match the design.
Clean: Remove excess glue with a damp sponge or cloth.
After gluing:
Secure: Smooth the entire surface with the roller.
Drying: Small bubbles will disappear as they dry. Keep the room temperature above 10∘C for the first few days, avoiding excessive heating.
Express delivery within 24 hours to your home address available.