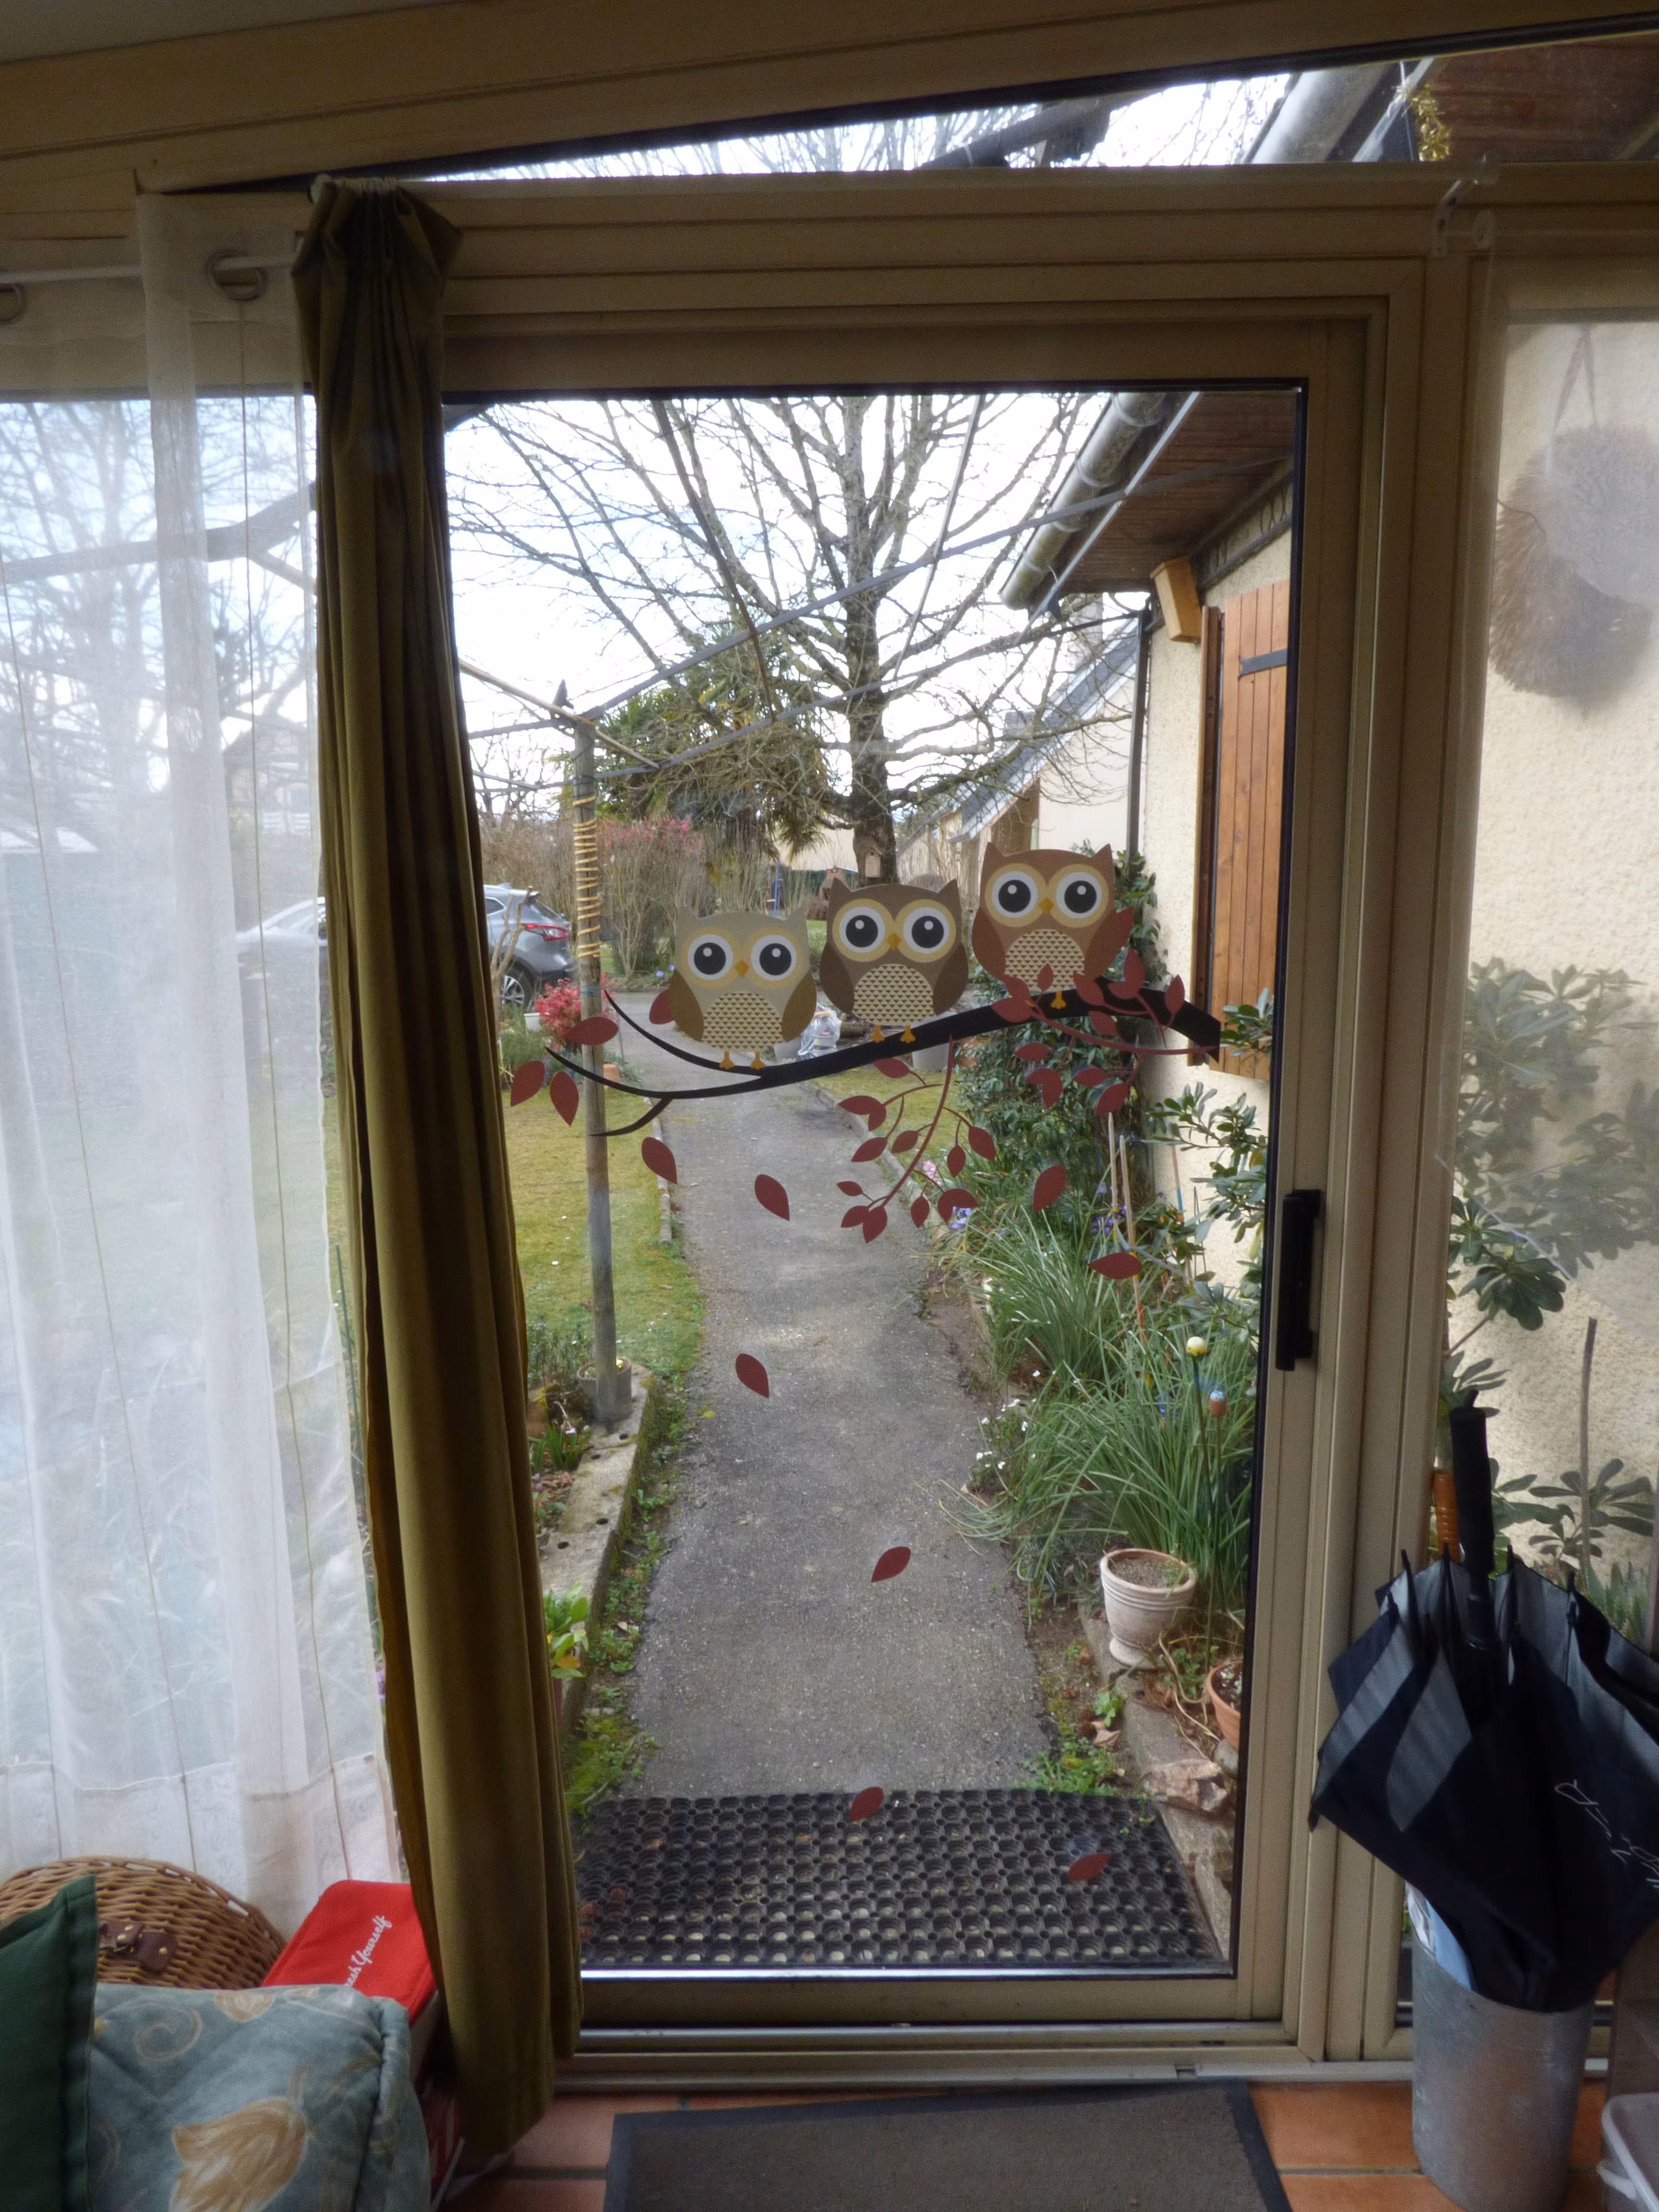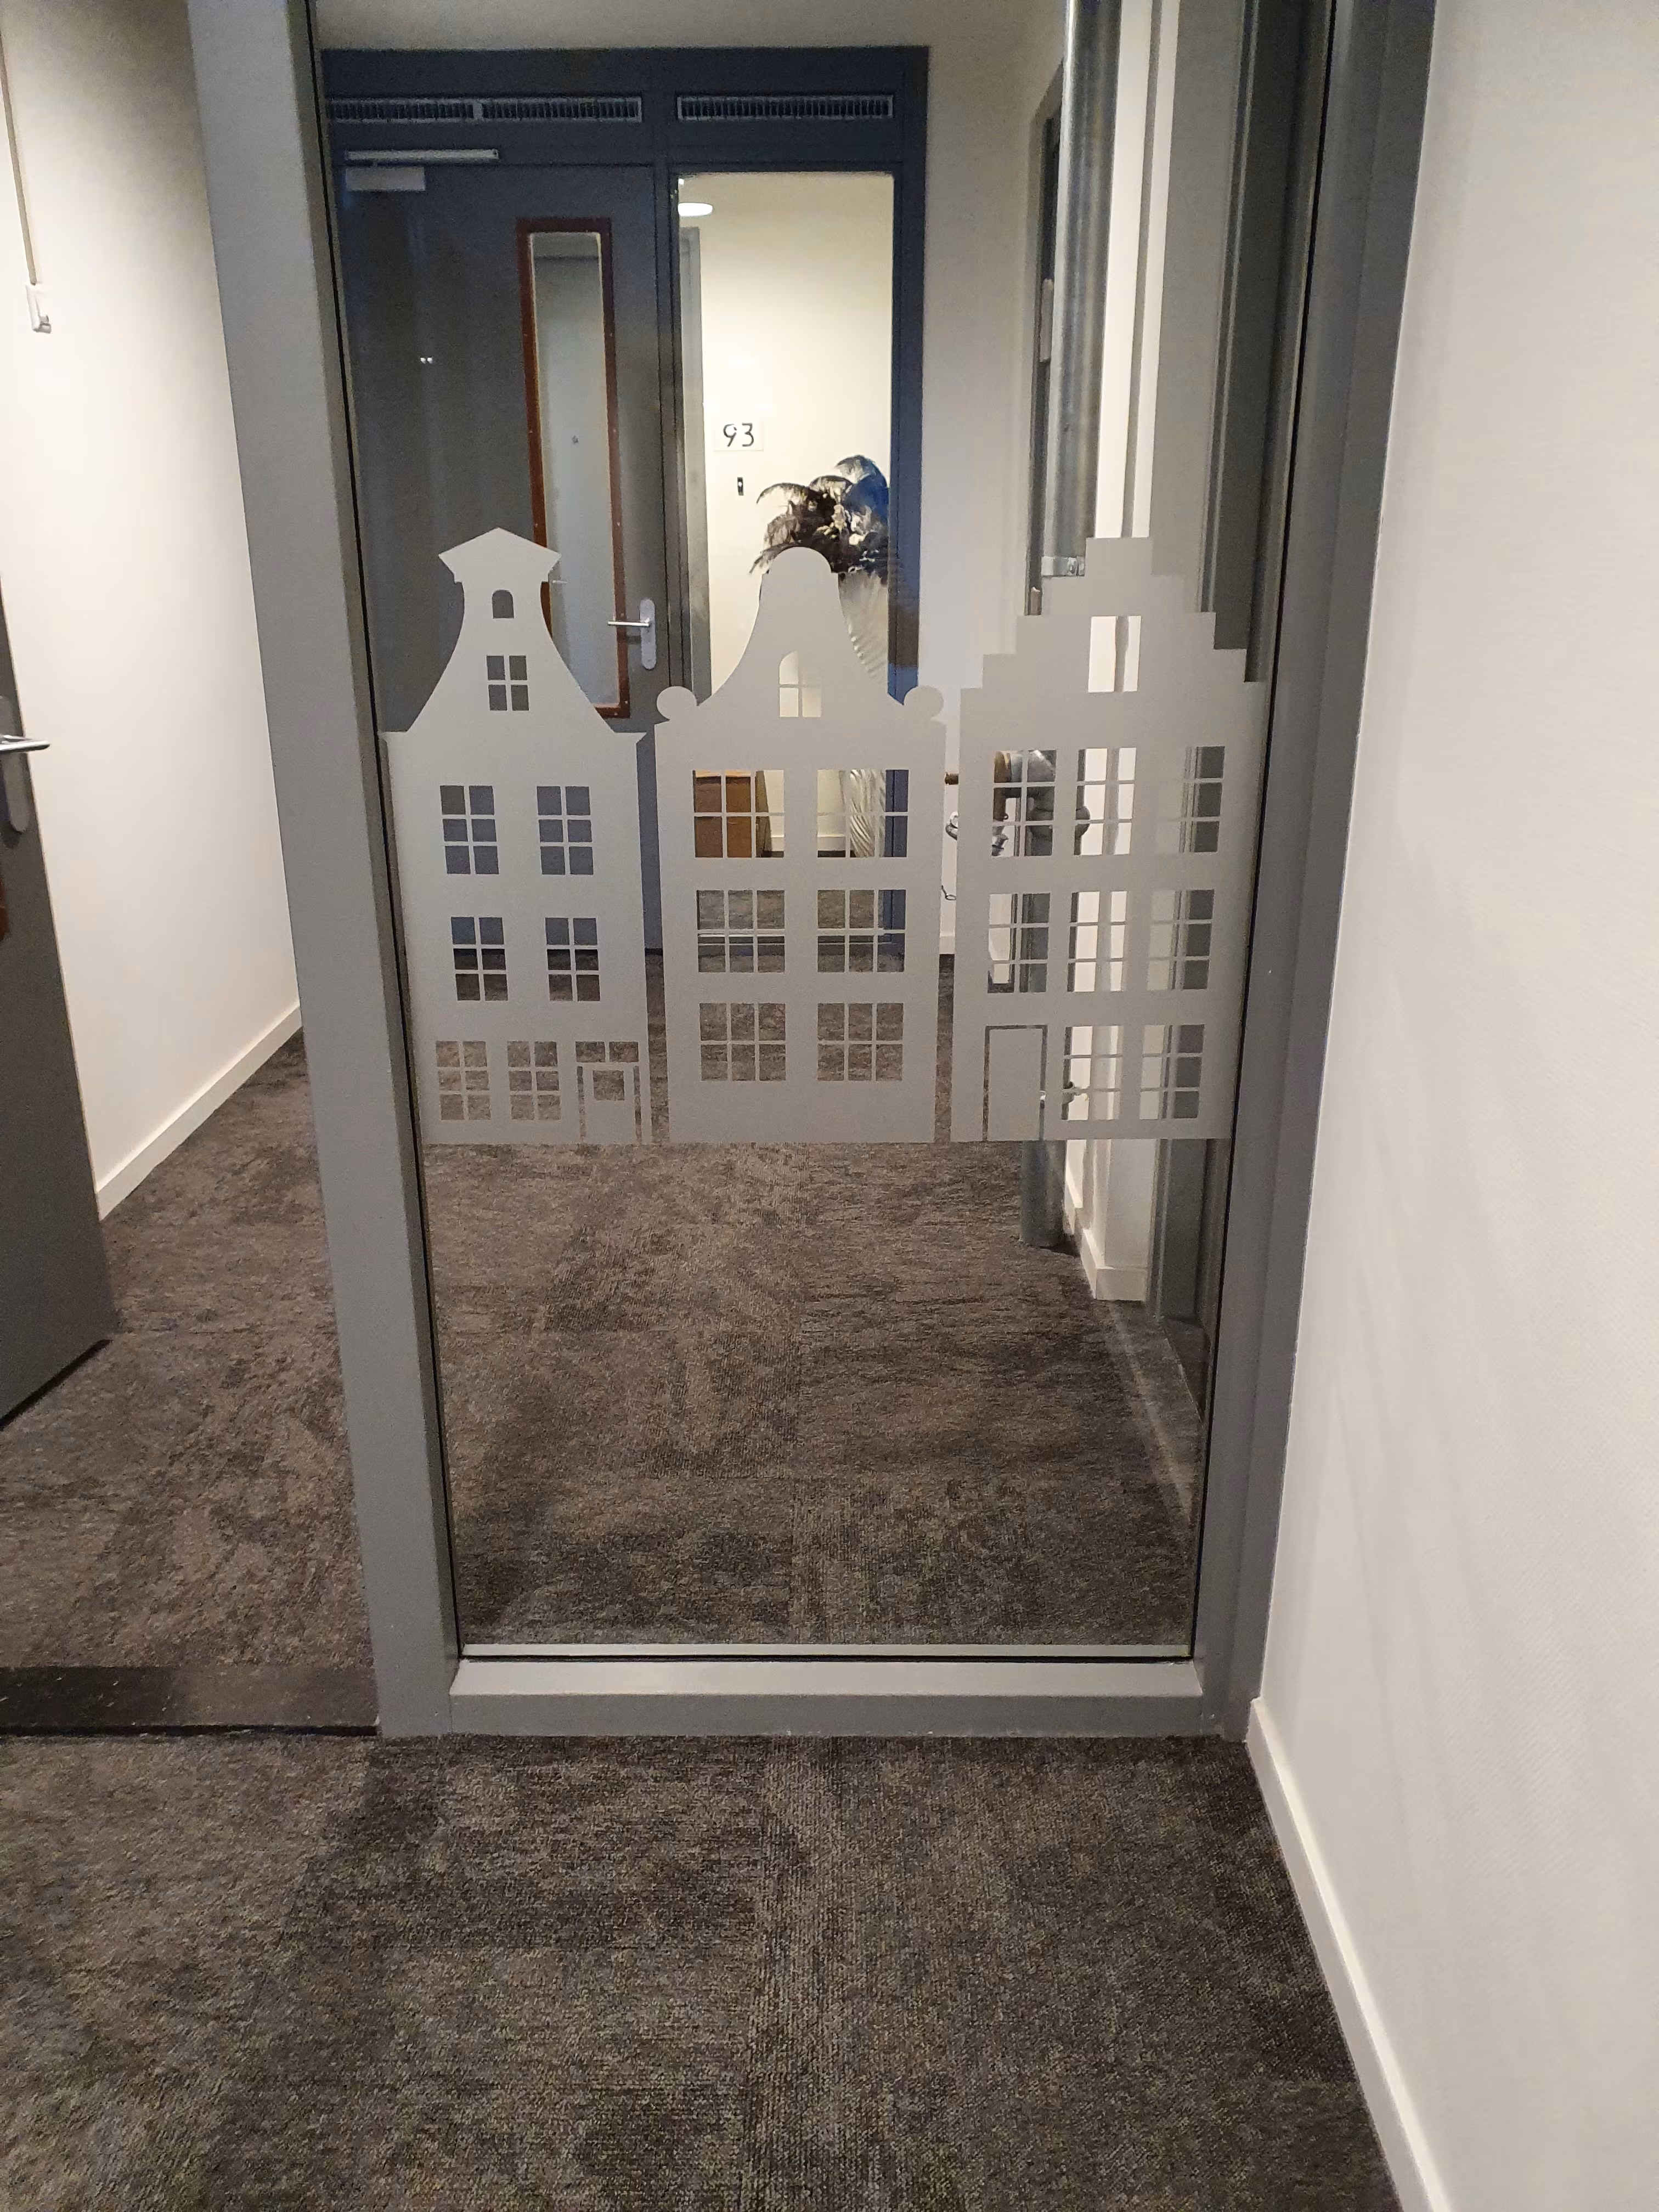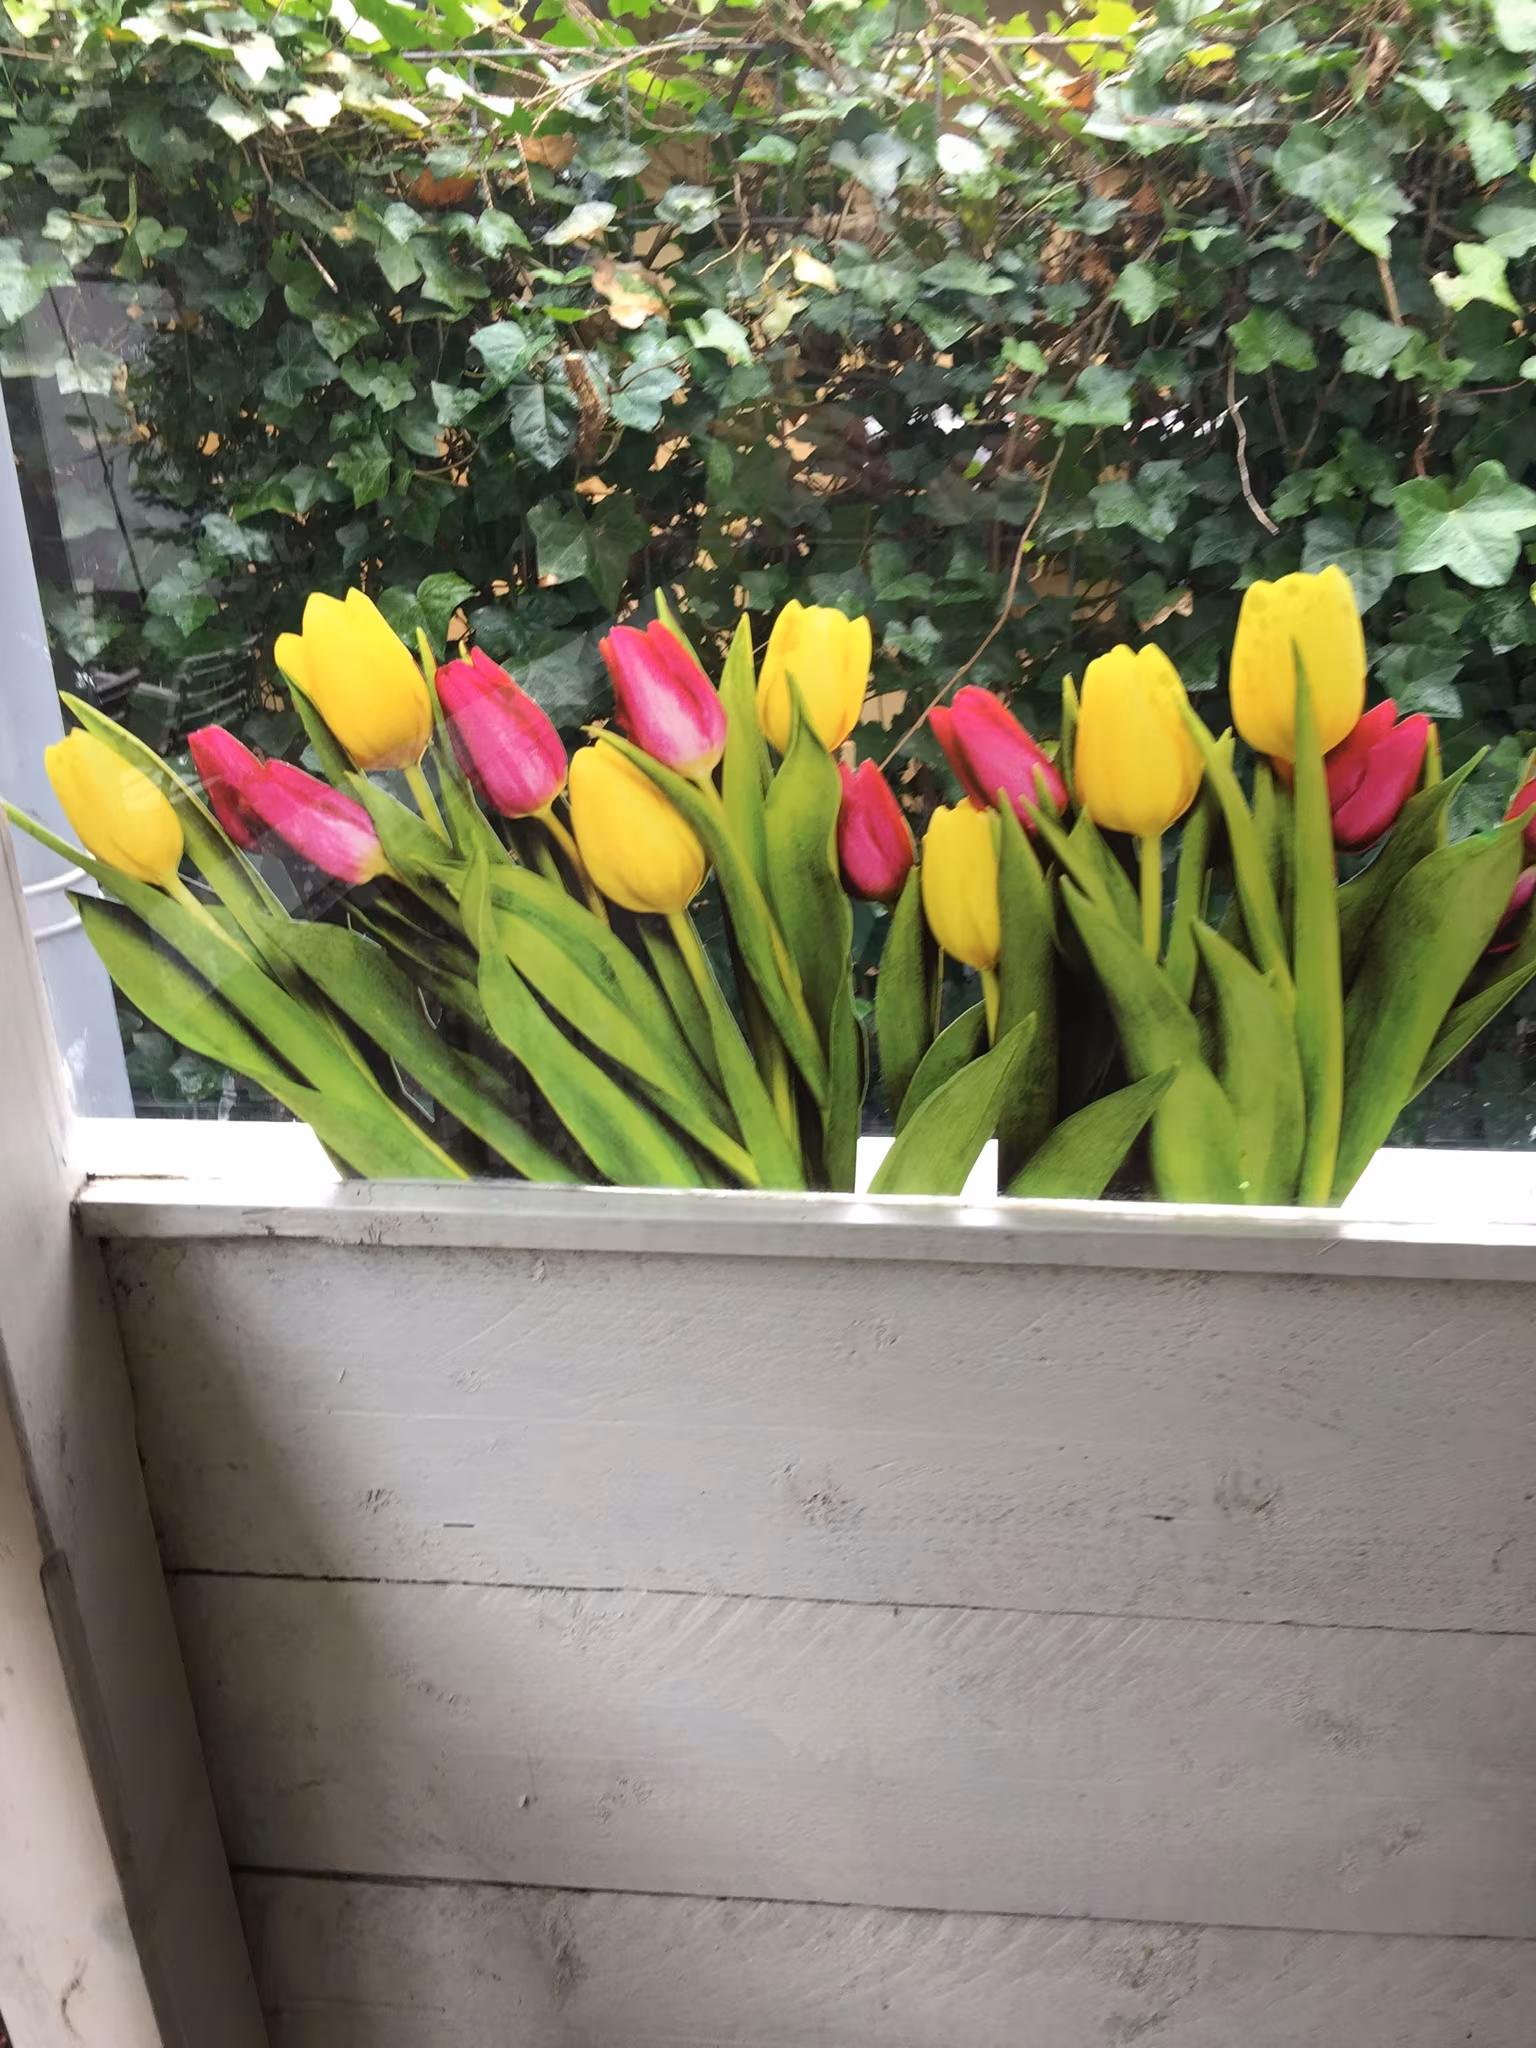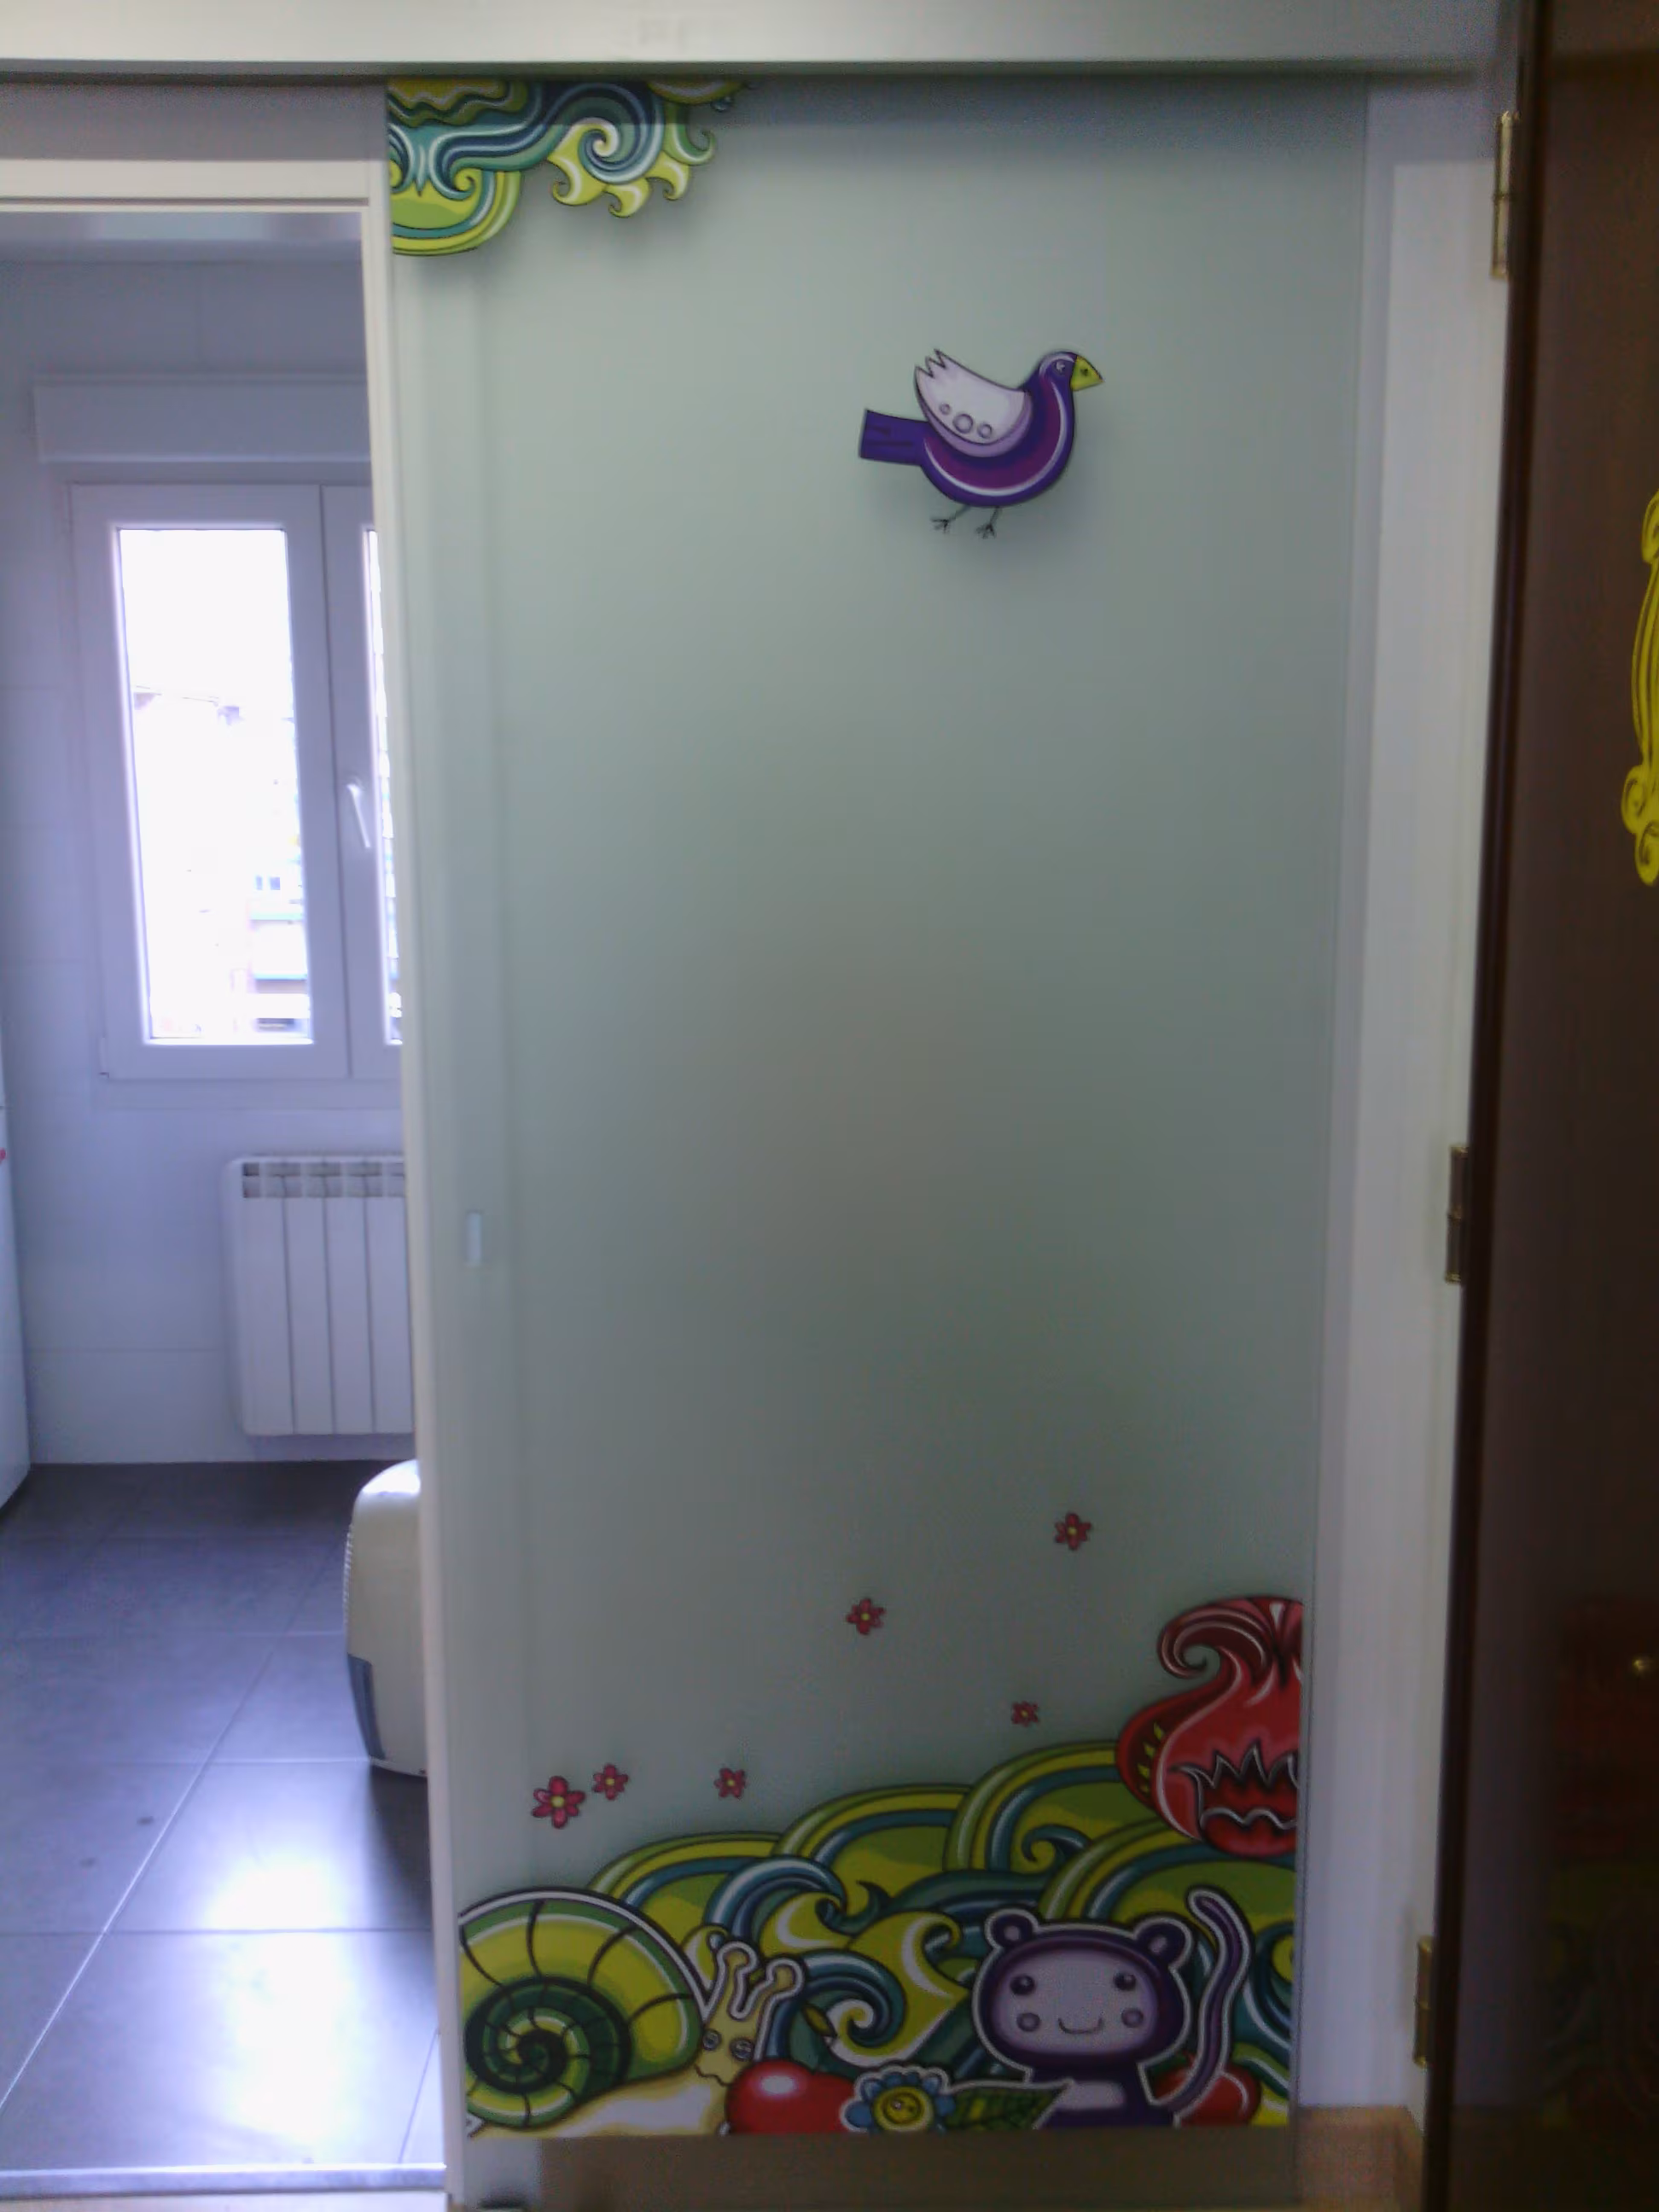
Six monocolor daisies window decal
Reference: A31291Six monocolor daisies window decal
Enhance Your Walls with Unique Elements
Transform the appearance of your walls with this exclusive window decal featuring six monocolor daisies. Whether you choose to place it in your living room, bedroom, bathroom, or kitchen, this decal will add a touch of elegance to any space.
Stunning Design with Green Leaves and White Daisies
Adorned with intricately detailed green leaves and beautiful white daisies outlined, this design is sure to catch everyone's attention. The combination of green and white creates a refreshing and vibrant atmosphere.
Decorate and Be Showered with Compliments
By decorating your walls with this decal, you'll not only enhance the visual appeal of your space but also receive compliments from your guests. The green plants and white daisies create a captivating and inviting ambiance.
Get the Perfect Background Sticker
Complete the look with the green leaves background sticker featuring white daisies. This sticker will perfectly complement the main decal, adding depth and style to your walls.

Thickness: Between 75–90 microns
Composition: 100% PVC
Temperature resistance: -50ºC to 90ºC
Custom-made: Choose the size you want, and we’ll adapt the design accordingly. If the desired size is smaller than the minimum shown on the website, please contact us by phone or email.
Fully customisable: If you’d like to modify any part of the design, feel free to contact us.
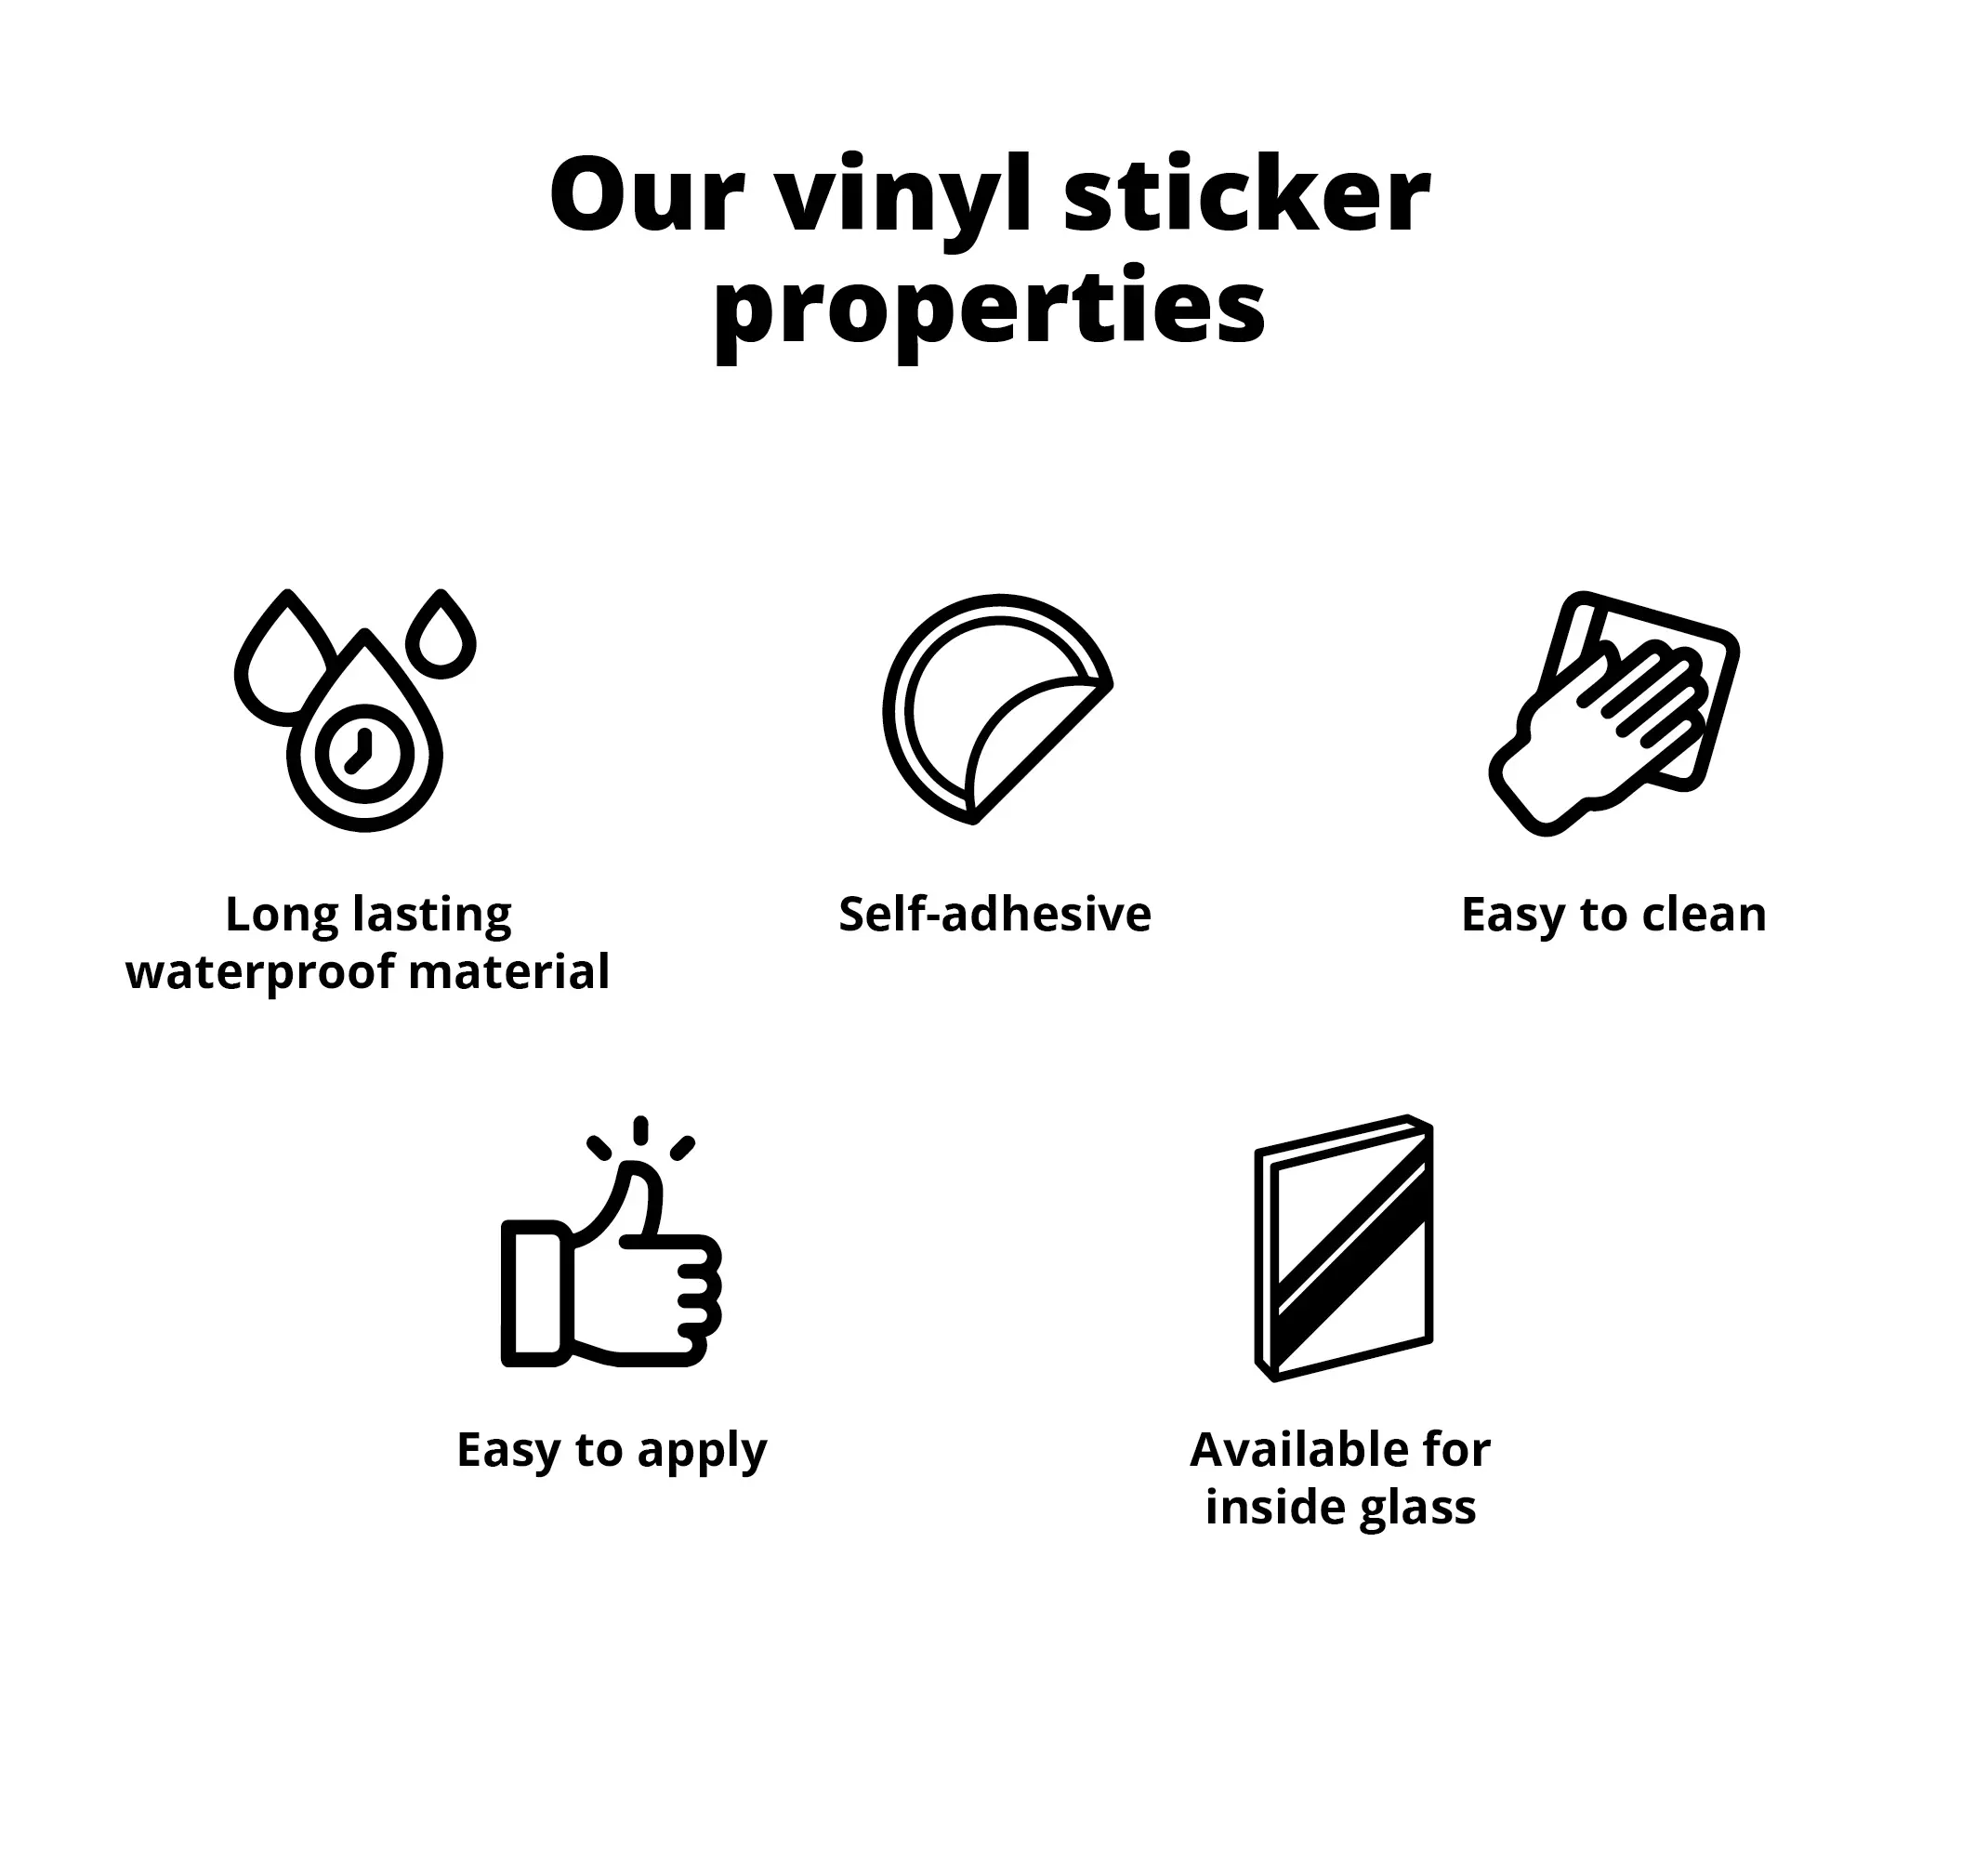
For indoor and outdoor use: Waterproof and moisture-resistant material.
Suitable surfaces: Any flat, smooth surface (walls, furniture, vehicles, windows, etc.)
Unsuitable surfaces: Rough or textured walls and fabrics. (If in doubt, you can send us a photo of your surface so we can confirm whether it’s suitable or not.)
Available finishes:
1.Semi-matte (satin): Non-glossy finish that prevents reflections and gives a modern, elegant look. It softly enhances colors and hides fingerprints or small imperfections.
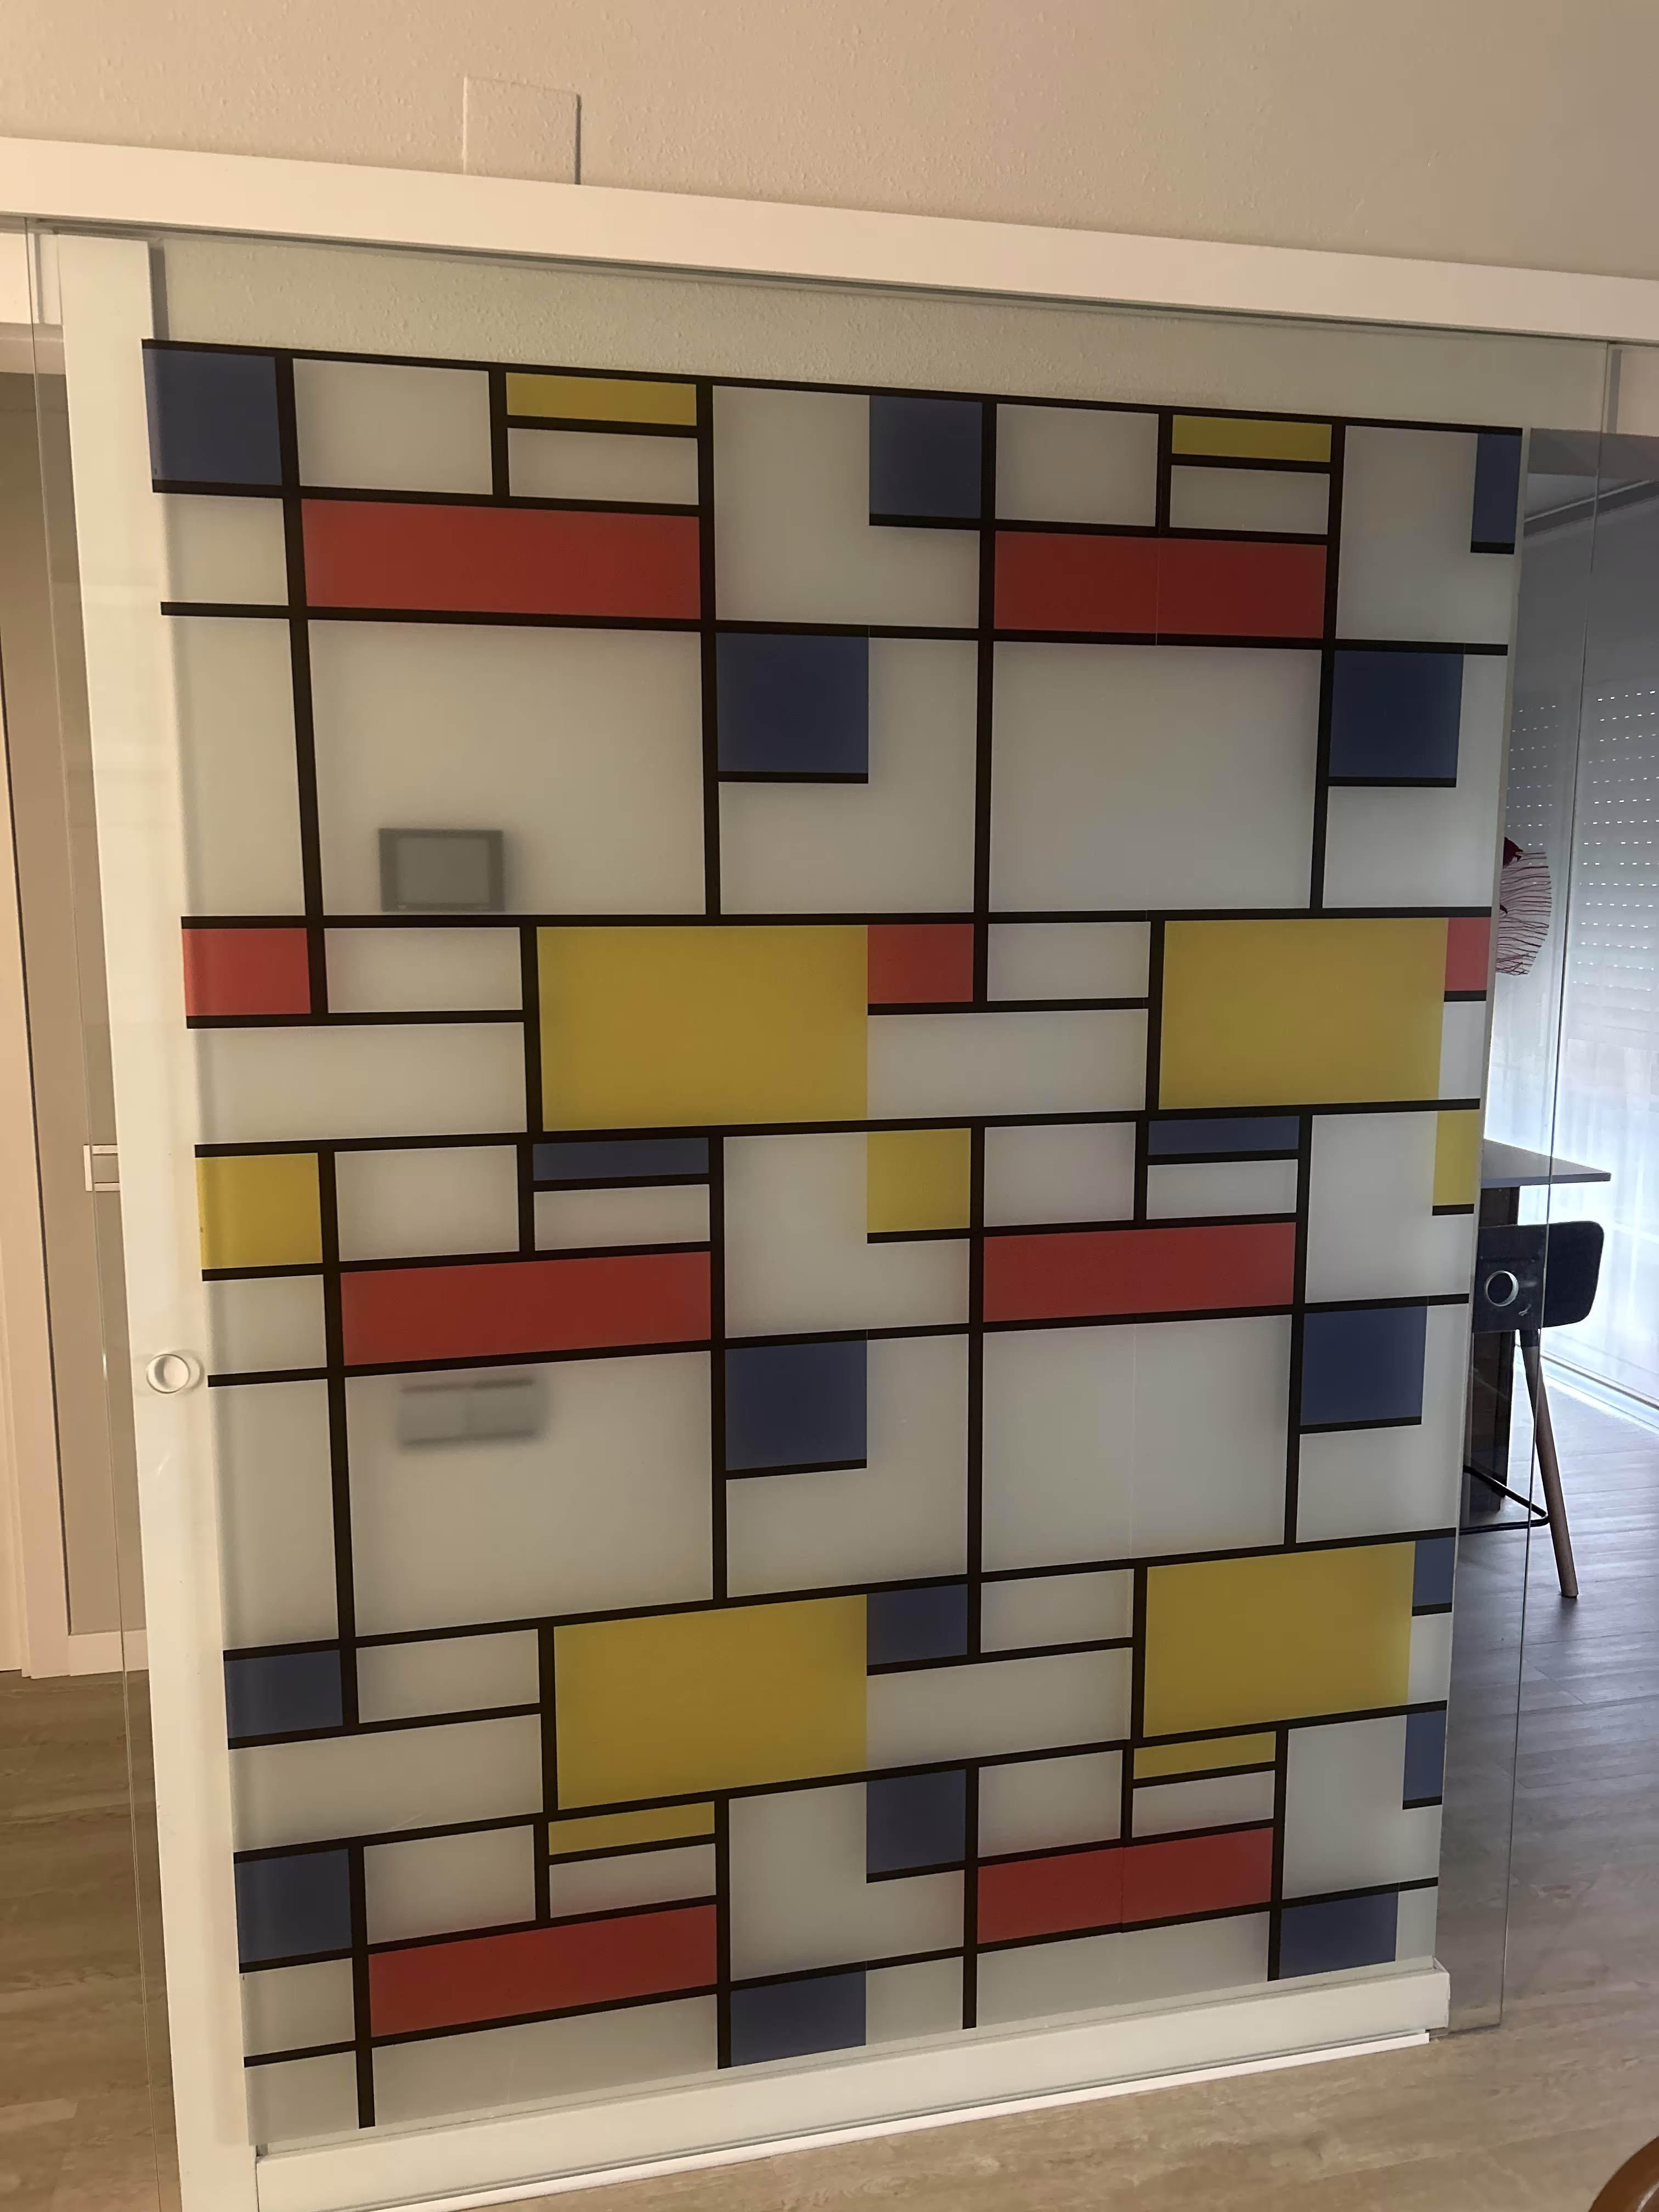
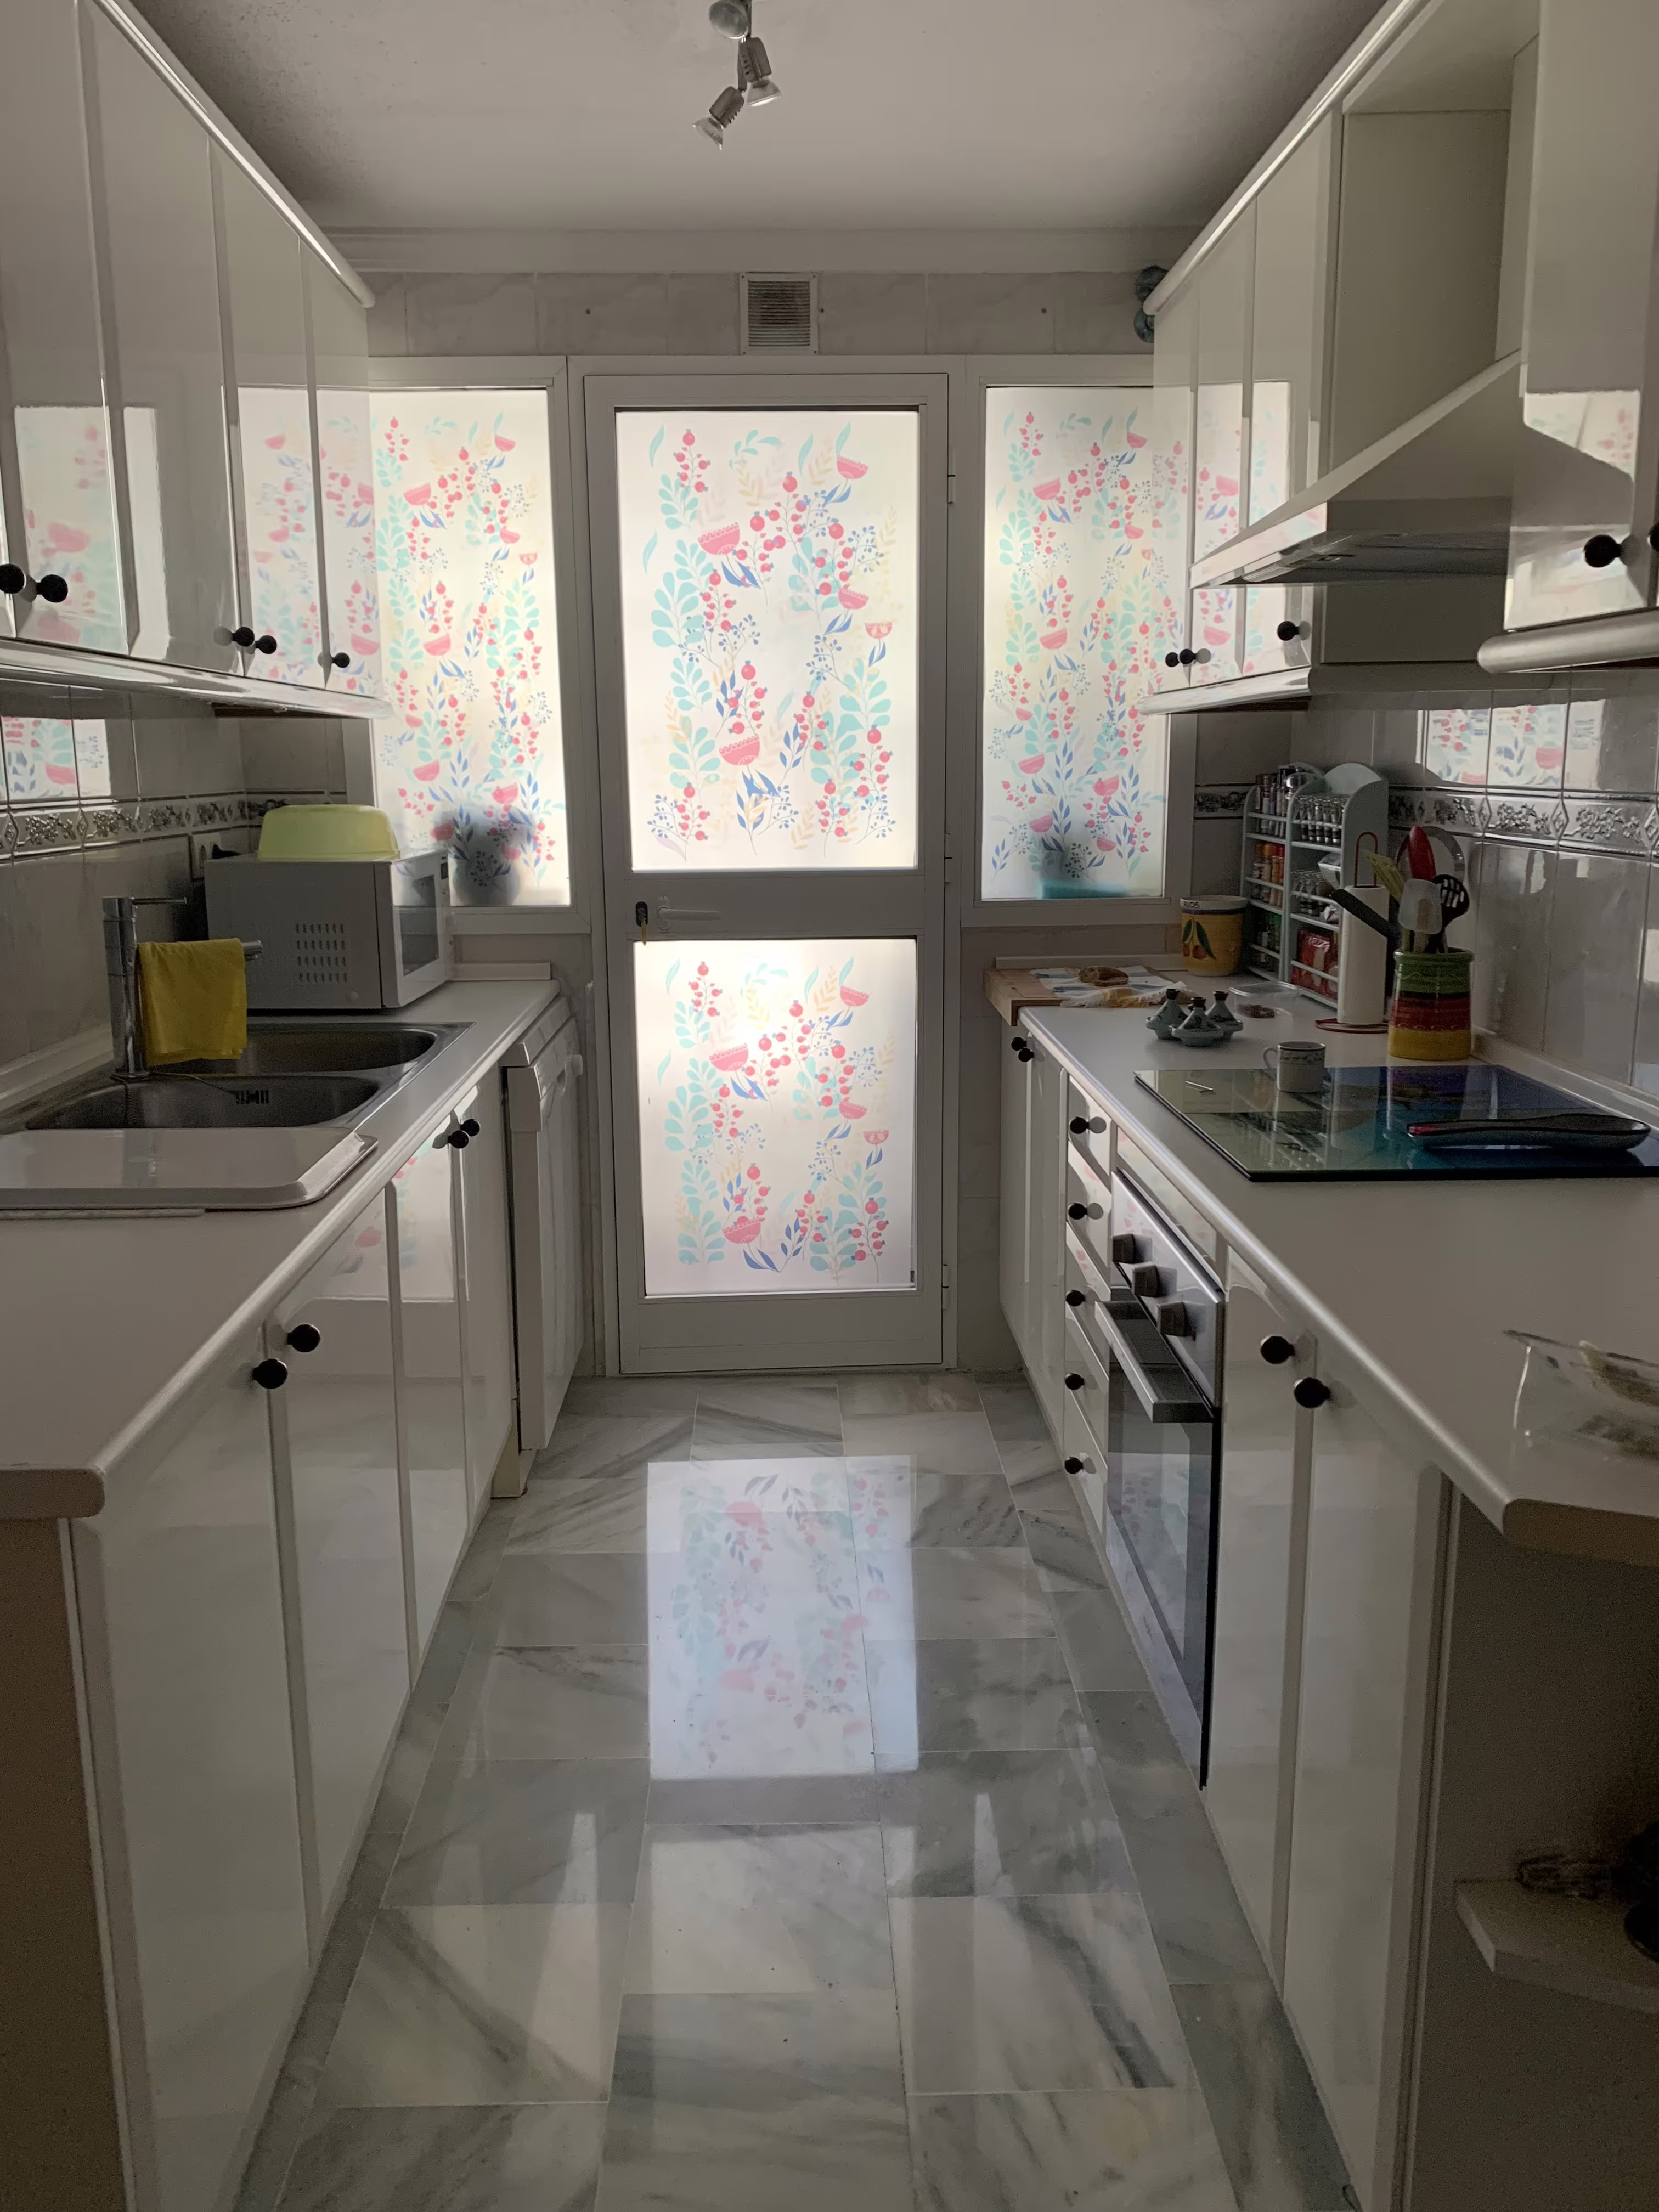
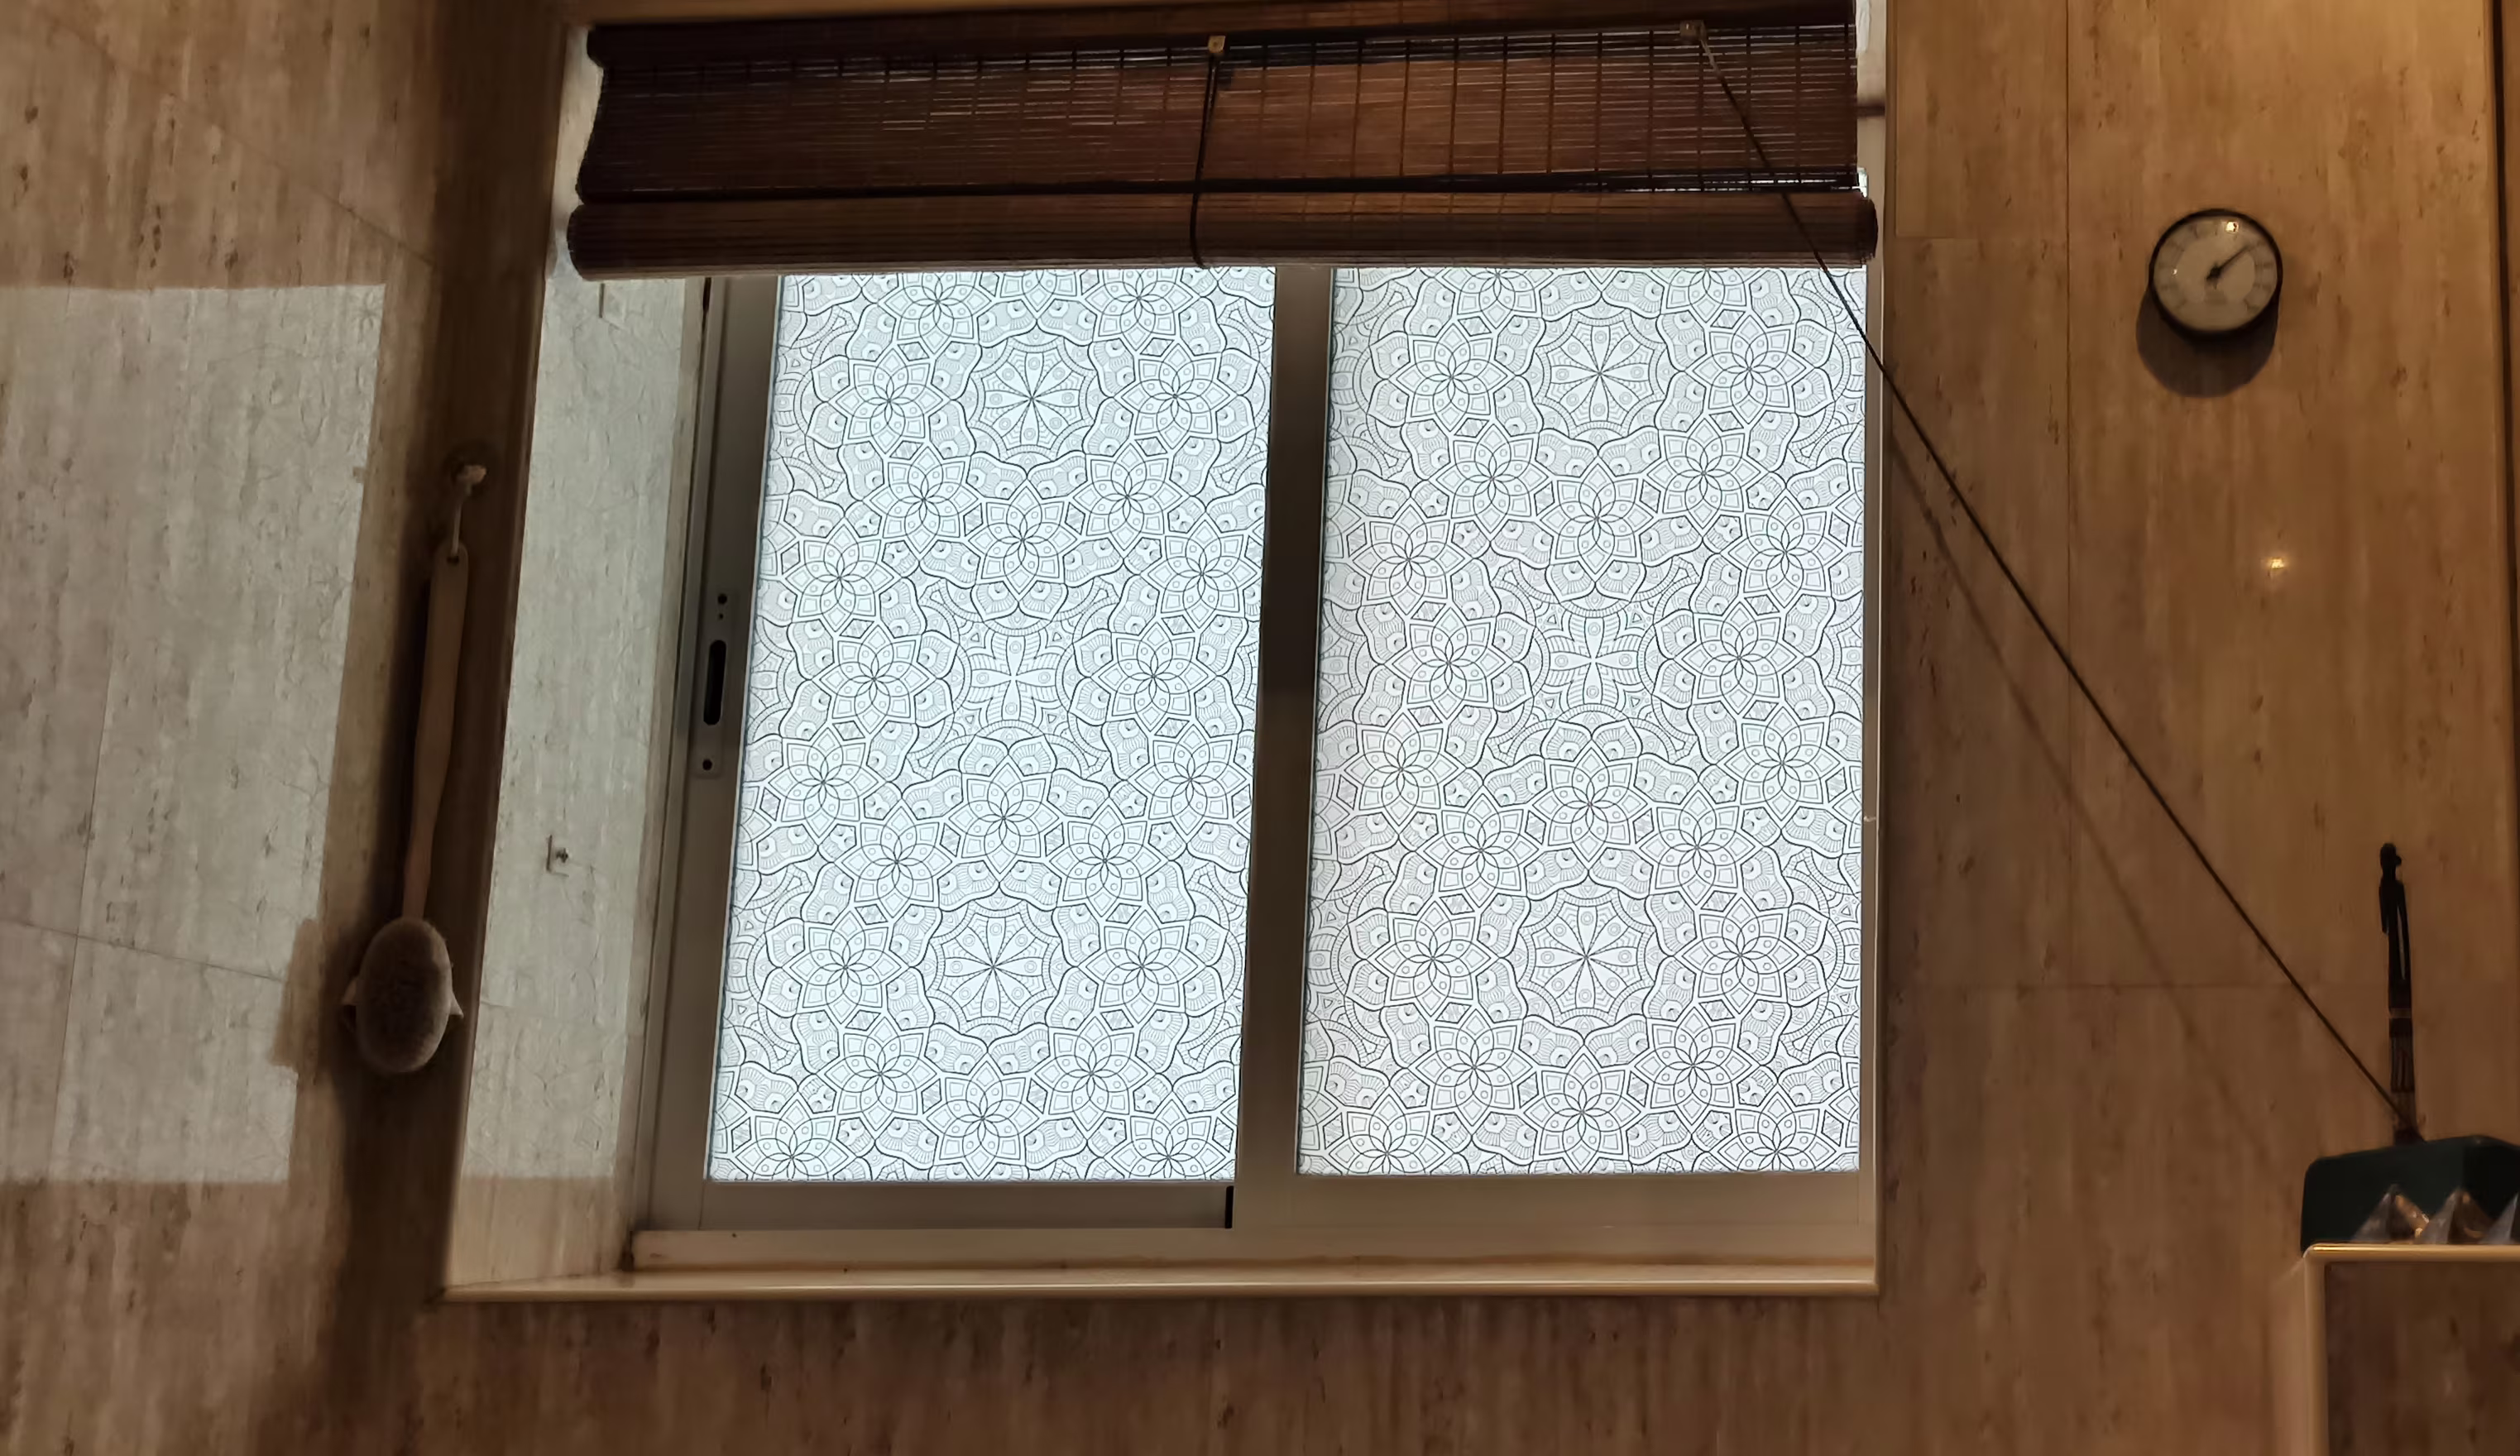
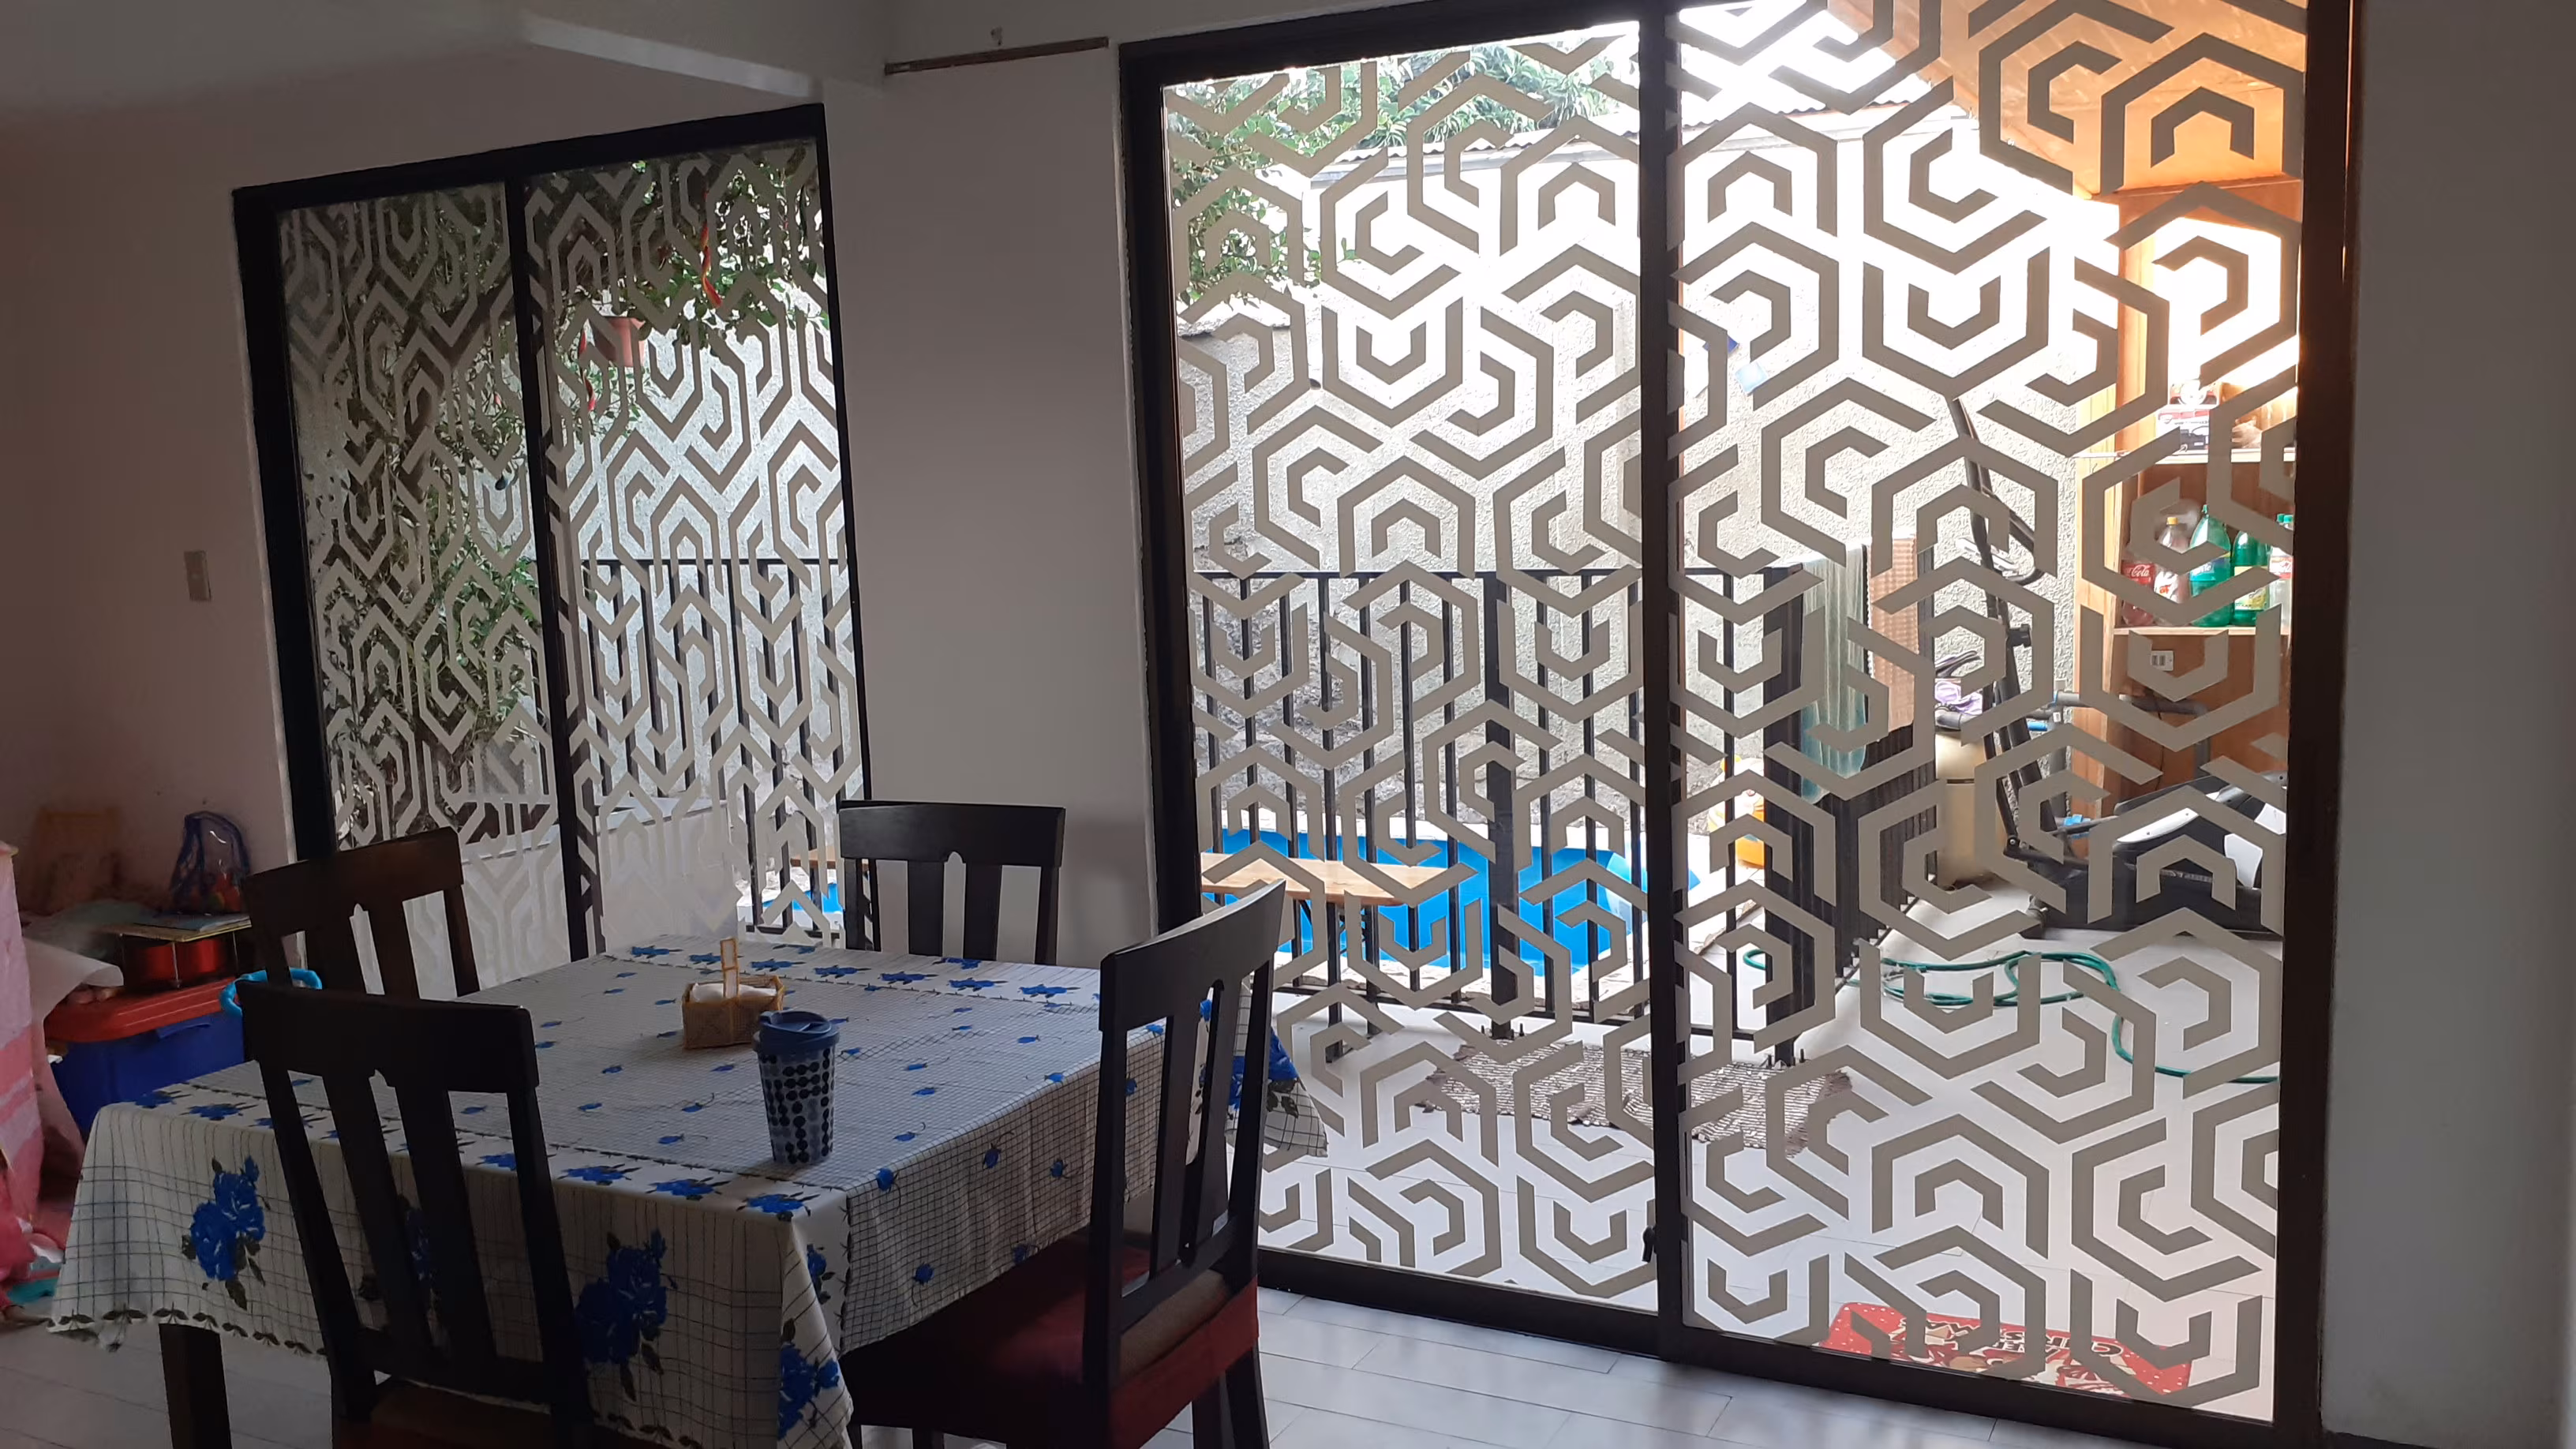
2.Translucent: Lets some light through without being completely transparent, providing privacy without darkening the space — ideal for windows or partitions.
3.Fluorescent: Bright, vivid colors that glow under natural or artificial light. Increases visibility and attracts attention — perfect for signage or bold decorative designs.
4.Metallic gold and silver: Shiny, reflective finish similar to metal. Adds a sophisticated, eye-catching touch — ideal for decorative accents or elegant logos.
Easy to clean: Washable with water and mild soap (avoid harsh cleaners).
Application spatula available: on our website.
Eco-friendly printing: Stickers with printed images are made using HP eco-friendly inks.
100% secure payment methods
Stickers that are A4 size or smaller are shipped in padded envelopes with bubble wrap for protection.
Stickers with cut-out designs or separate parts will be shipped with transfer paper to make application easier. One-piece stickers or those with simple shapes will not include transfer paper, as they can be easily applied without it.
You’ll need: A spatula or similar tool (credit card, ID card) and a clean cloth.
What’s included: The sticker and accessories in protective packaging, plus a free sample sticker so you can test adhesion and application. If you’re not applying it immediately, store the sticker flat.
Surface preparation: The surface must be dry, clean (free from dust, liquids or stains), smooth, and non-porous. Plastic paint is recommended for walls. Wait 4–6 weeks if the wall was recently painted. Clean with water or alcohol - never with glass cleaner. Chalkboard stickers require an absolutely smooth surface. Unroll and press the sticker upon arrival.
Application steps (Opaque surfaces):
Unroll the sticker and check it’s complete.
Firmly press the transfer paper onto the sticker (especially on small details).
Measure and position it on the wall.
Fold back about 5 cm of the top backing paper.
Fix the top part of the sticker to the wall.
Remove the backing paper and apply the sticker using the squeegee, working from the center outward.
Rub over the transfer paper again to ensure good adhesion.
Remove the transfer paper slowly at a 180° angle. (Some stickers don’t include transfer paper.)
Application on glass (with water and soap):
Spray the glass with a mix of water and mild soap (not glass cleaner).
Wipe to remove any dust or residue.
Spray again with the mixture.
Apply the sticker (it will be movable at this stage) and use the squeegee to remove excess liquid.
Let it dry for 12–24 hours. If transfer paper is included, remove it after drying.
Express delivery within 24 hours to your home address available.
 the
10/05/2026
at
20:25 h
the
10/05/2026
at
20:25 h
 the
09/02/2026
at
13:35 h
the
09/02/2026
at
13:35 h
 the
19/11/2025
at
07:25 h
the
19/11/2025
at
07:25 h
 the
12/08/2025
at
06:46 h
the
12/08/2025
at
06:46 h
 the
22/05/2025
at
16:33 h
the
23/02/2025
at
21:44 h
the
22/05/2025
at
16:33 h
the
23/02/2025
at
21:44 h
 the
12/11/2024
at
06:47 h
the
12/11/2024
at
06:47 h
 the
19/08/2024
at
22:30 h
the
19/08/2024
at
22:30 h
 the
10/05/2024
at
13:16 h
the
10/05/2024
at
13:16 h
 the
01/05/2023
at
11:53 h
the
01/05/2023
at
11:53 h

 the
18/03/2023
at
13:09 h
the
18/03/2023
at
13:09 h
 the
25/02/2023
at
15:14 h
the
25/02/2023
at
15:14 h