Smiling Clouds Pattern nursery roller blind
Reference: E049A playful design featuring smiling clouds interspersed with colorful raindrops, stars, and a subtle rainbow. The soothing blue background is complemented by hints of pink, green, and yellow, creating a tranquil and cheerful atmosphere suited for a nursery setting.
Transform your child's nursery into a whimsical wonderland with our Smiling Clouds Pattern nursery roller blind. This enchanting design features adorable smiling clouds, vibrant rainbows, and playful stars that create a cheerful atmosphere. The blue, green, and pink hues, along with cute waterdrops and raindrops, add a touch of joy and warmth to any room!
Why this product should be used for decoration
The Smiling Clouds Pattern nursery roller blind is more than just a functional item; it’s a delightful centerpiece that inspires creativity and imagination. Imagine your little one drifting off to sleep under a sky of happy clouds and twinkling stars! This blind enhances the nursery's aesthetic while providing comfort and security, making it an essential addition to your child's space.
How to install this product
Installing the Smiling Clouds Pattern nursery roller blind is a breeze! With our easy assembly feature, it only takes two clicks to secure it in place, making setup quick and hassle-free.

- Light filtering: 100% polyester
- Voile: 70% PVC and 30% polyester
- Blackout: 75% PVC and 25% fiberglass
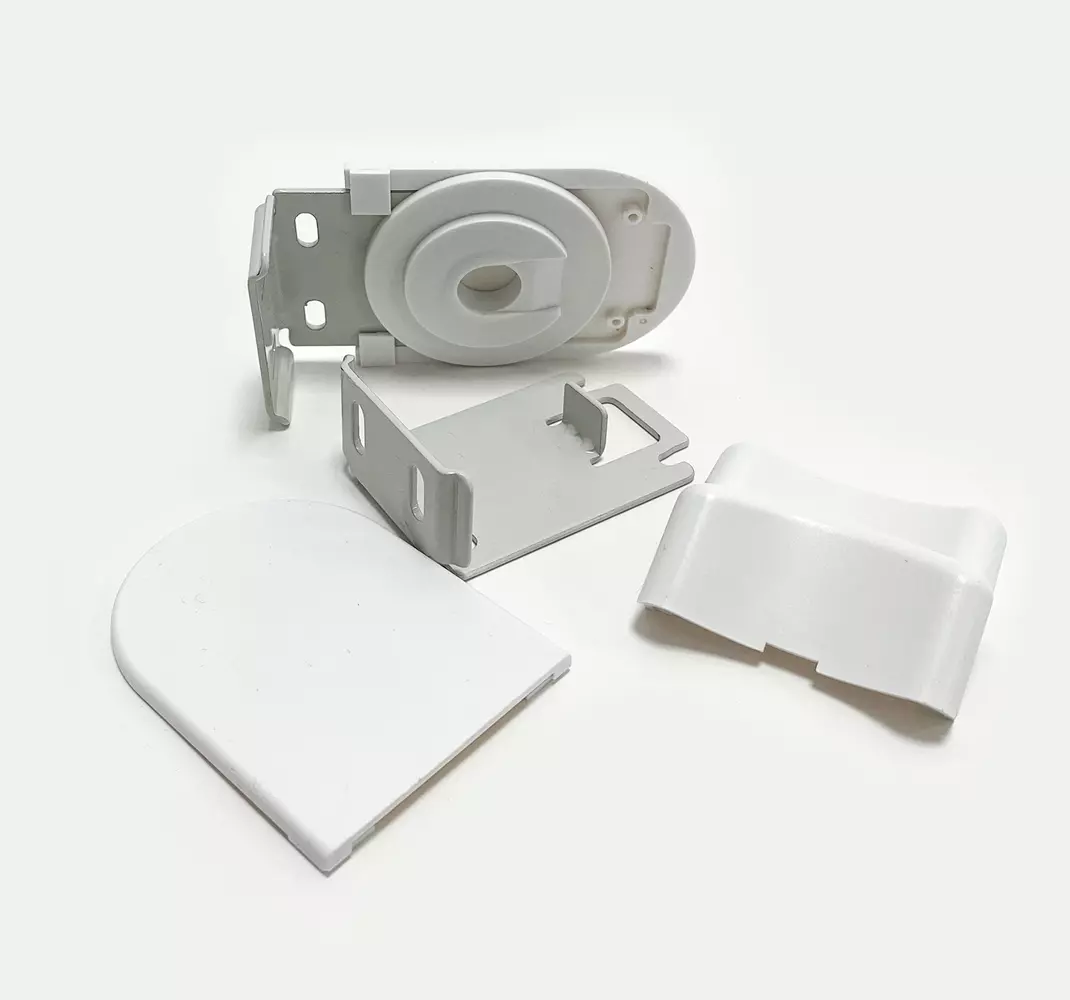
Easy installation: product easy to mount in two clicks
Easy to remove and replace
Measurement selection: wall-ceiling or recess installation
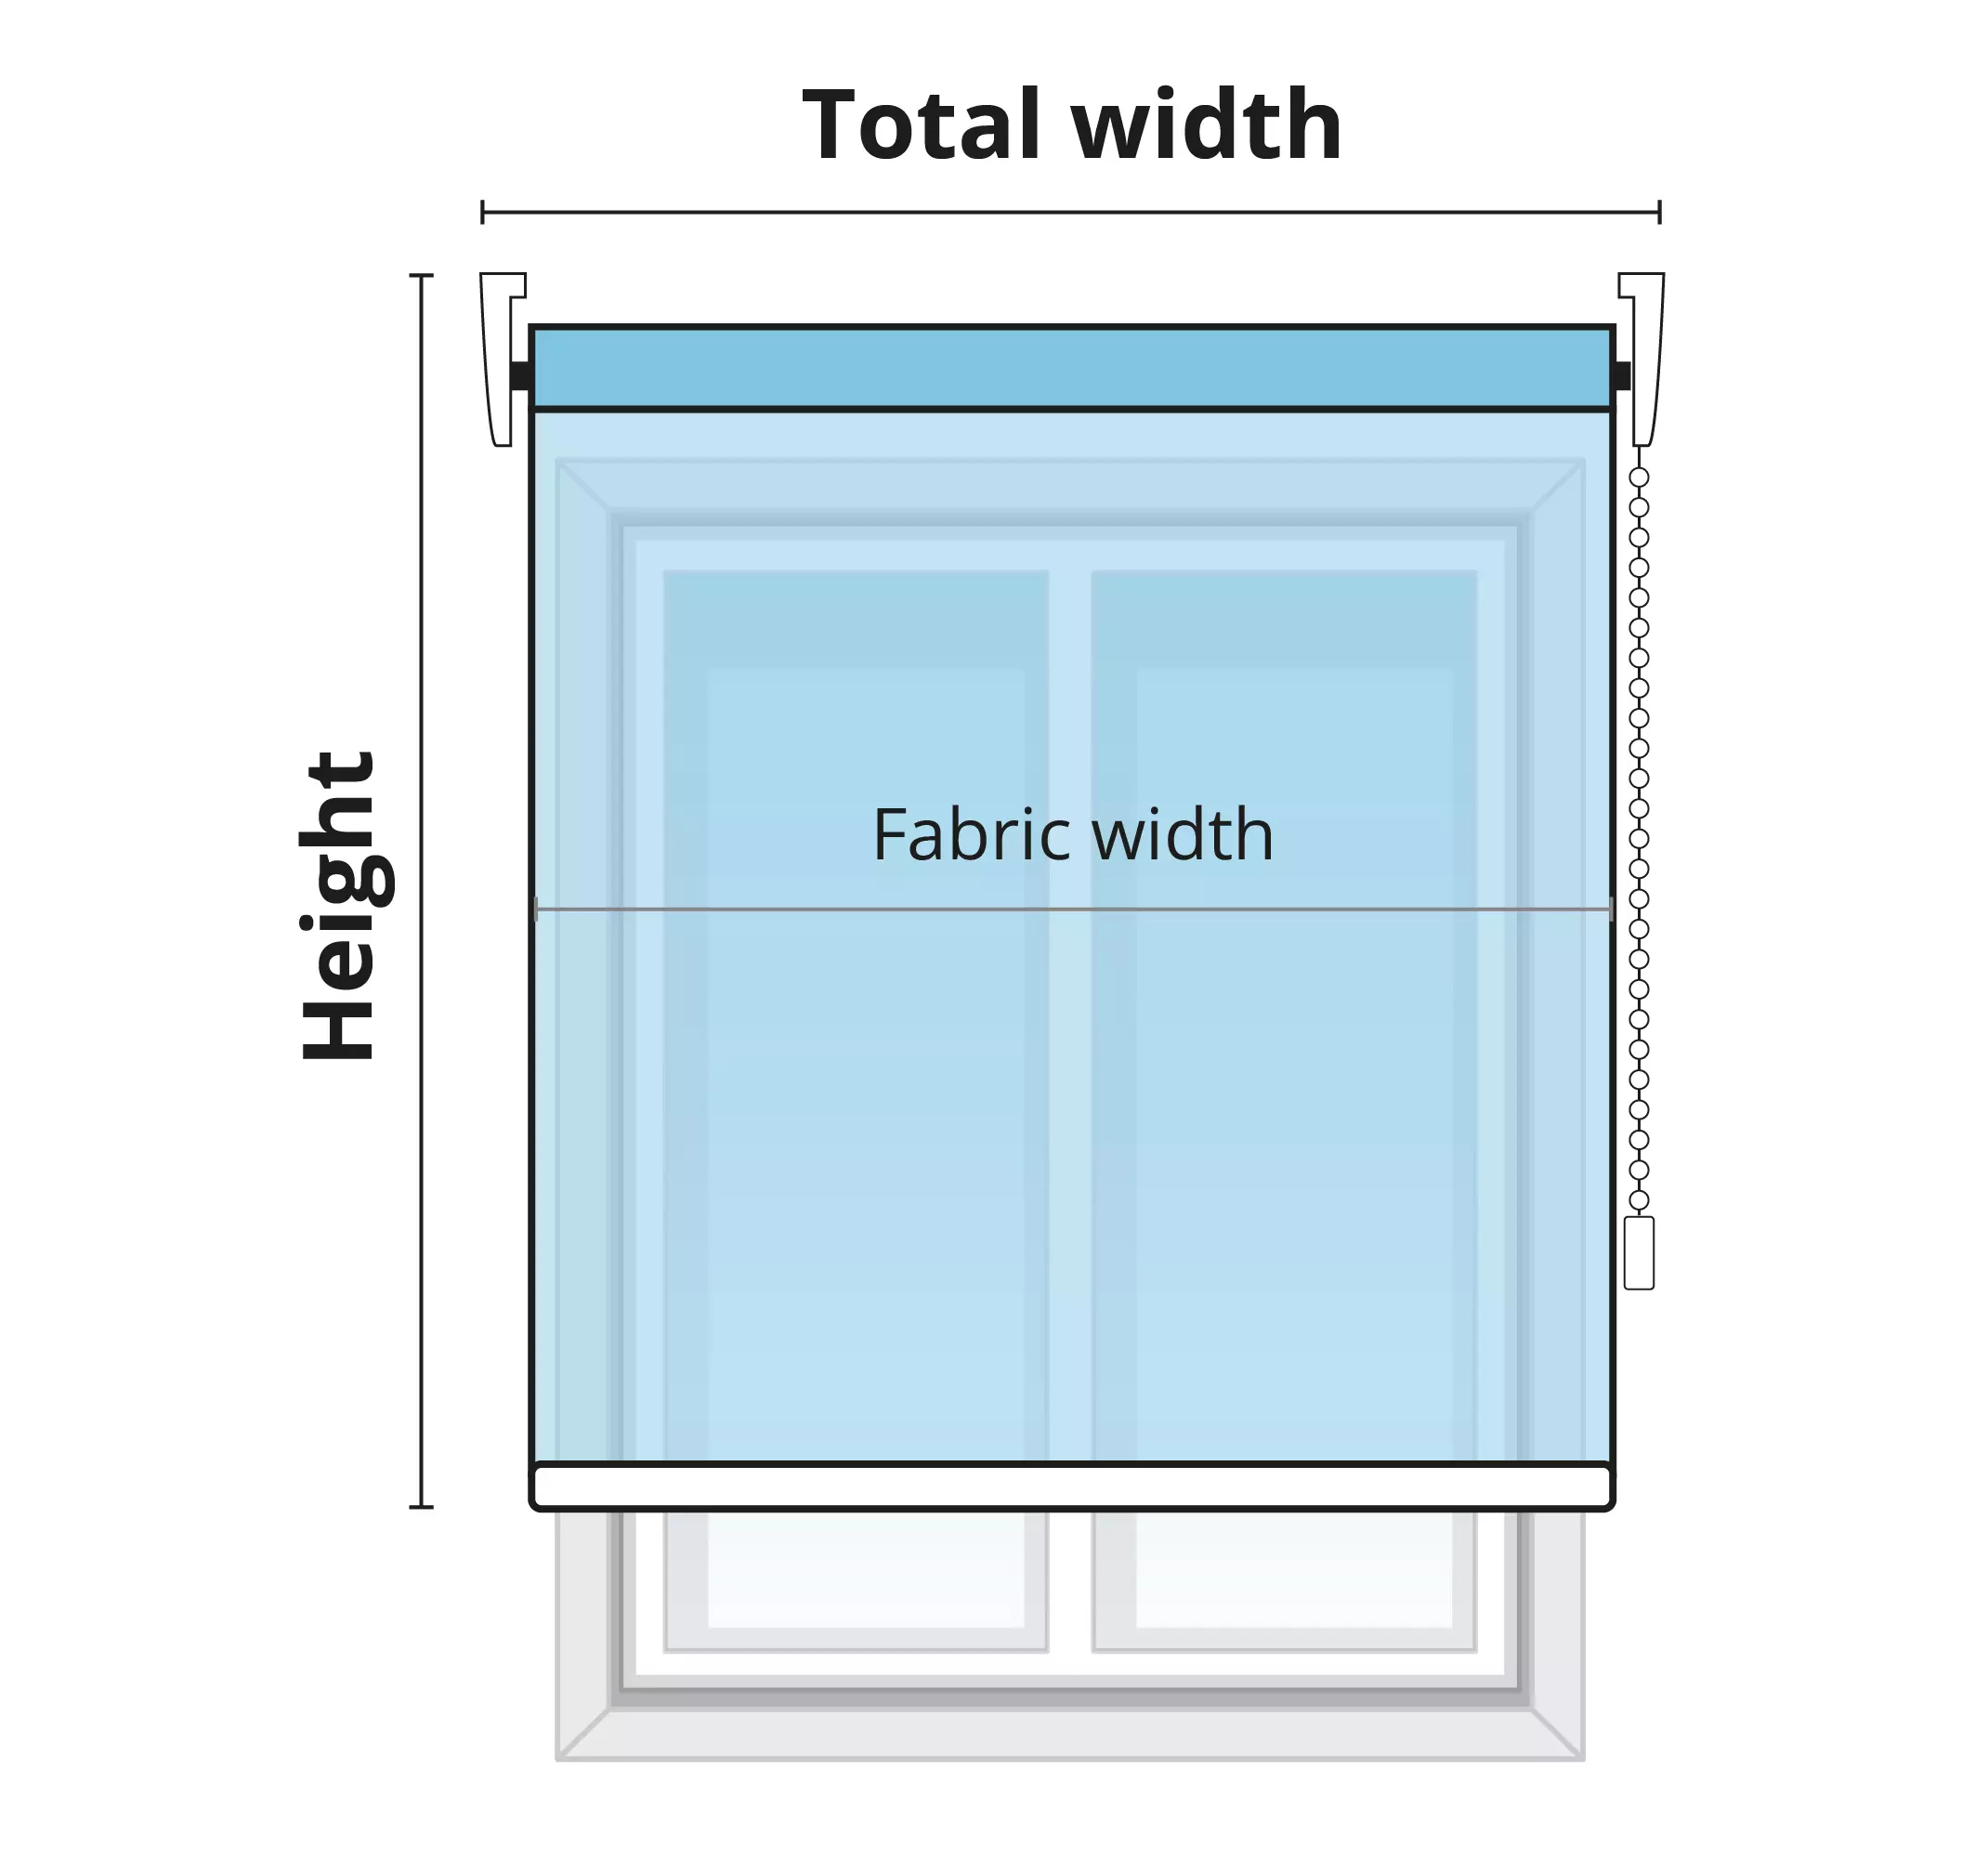
- Wall-ceiling: Measure the window and add 5 cm on each side; for example, for 100×180 cm, order a 110×190 cm blind.
- Recess: Measure the recess and subtract 5 mm from the width; for 100×180 cm, order 99.5×180 cm.
Available sizes:
- Width: from 40 cm to 180 cm
- Height: from 40 cm to 300 cm
100% customizable product: if you wish to modify any design element, do not hesitate to contact us.
Mechanism size: 8 cm wide (vertical) and 6 cm high (horizontal)
Available fabric types:
- Light filtering: lets light through while offering privacy
- Voile: lets light through with visibility (ideal for businesses or high floors)
- Blackout: completely blocks light and visibility
Acoustic insulation: reduces noise penetration
Thermal insulation: reduces heat and cold transfer
Available chain and bracket colors: white and black
Chain position: left or right
Safety: reduces UV sunlight penetration
100% custom-made product
Hypoallergenic, antimicrobial (does not accumulate dust), and fire-resistant product
Easy to clean: with a damp cloth and mild soap
Tube diameter: 43 mm / 450 g/m
Weight per square meter:
- Light filtering: 190 g/m²
- Voile: 470 g/m²
- Blackout: 537 g/m²
100% secure payments
Application instructions are available on our website, and with the product you will receive a QR code on the packaging that will redirect you directly to them.
Recommended materials:
1. Ruler/tape measure
2. Spirit level
3. Drill
4. Hammer
5. Screwdriver
6. Appropriate screws/plugs
Installation:
Location and Marking:
Choose the position of the brackets, ensuring that the blind does not hit handles, furniture, or radiators when extended.
There should be the same distance on both sides of the window and enough clearance to open the window with the blind rolled up.
Mark the fixing points of the two brackets with a pencil, using a tape measure and spirit level to ensure they are straight.
Fixing the Brackets:
Drill the holes and, using the hammer, insert the plugs flush with the wall.
Screw the two brackets into the corresponding holes.
Blind Assembly:
Insert the roller blind into the respective slots of each bracket. The system is designed for quick and easy assembly and disassembly.
Express delivery within 24 hours to your home address available.


